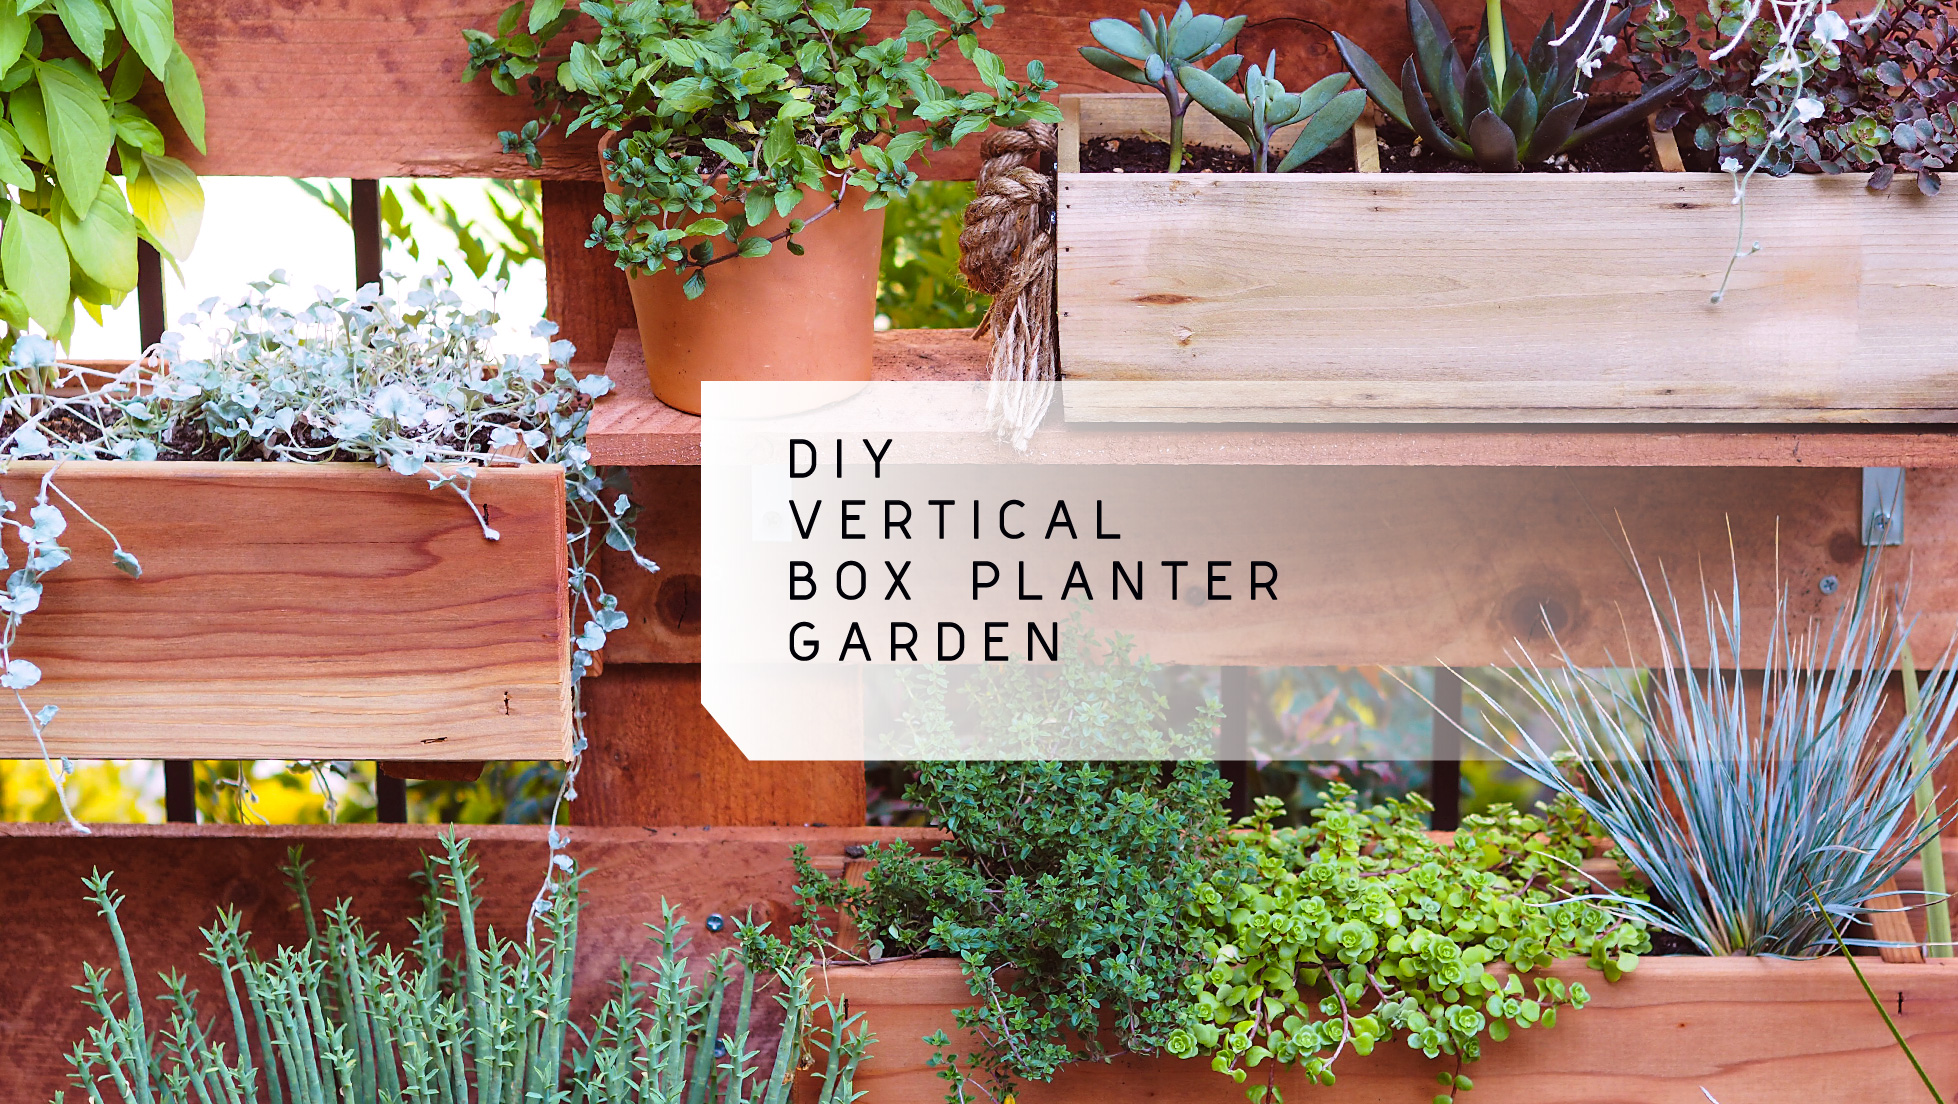
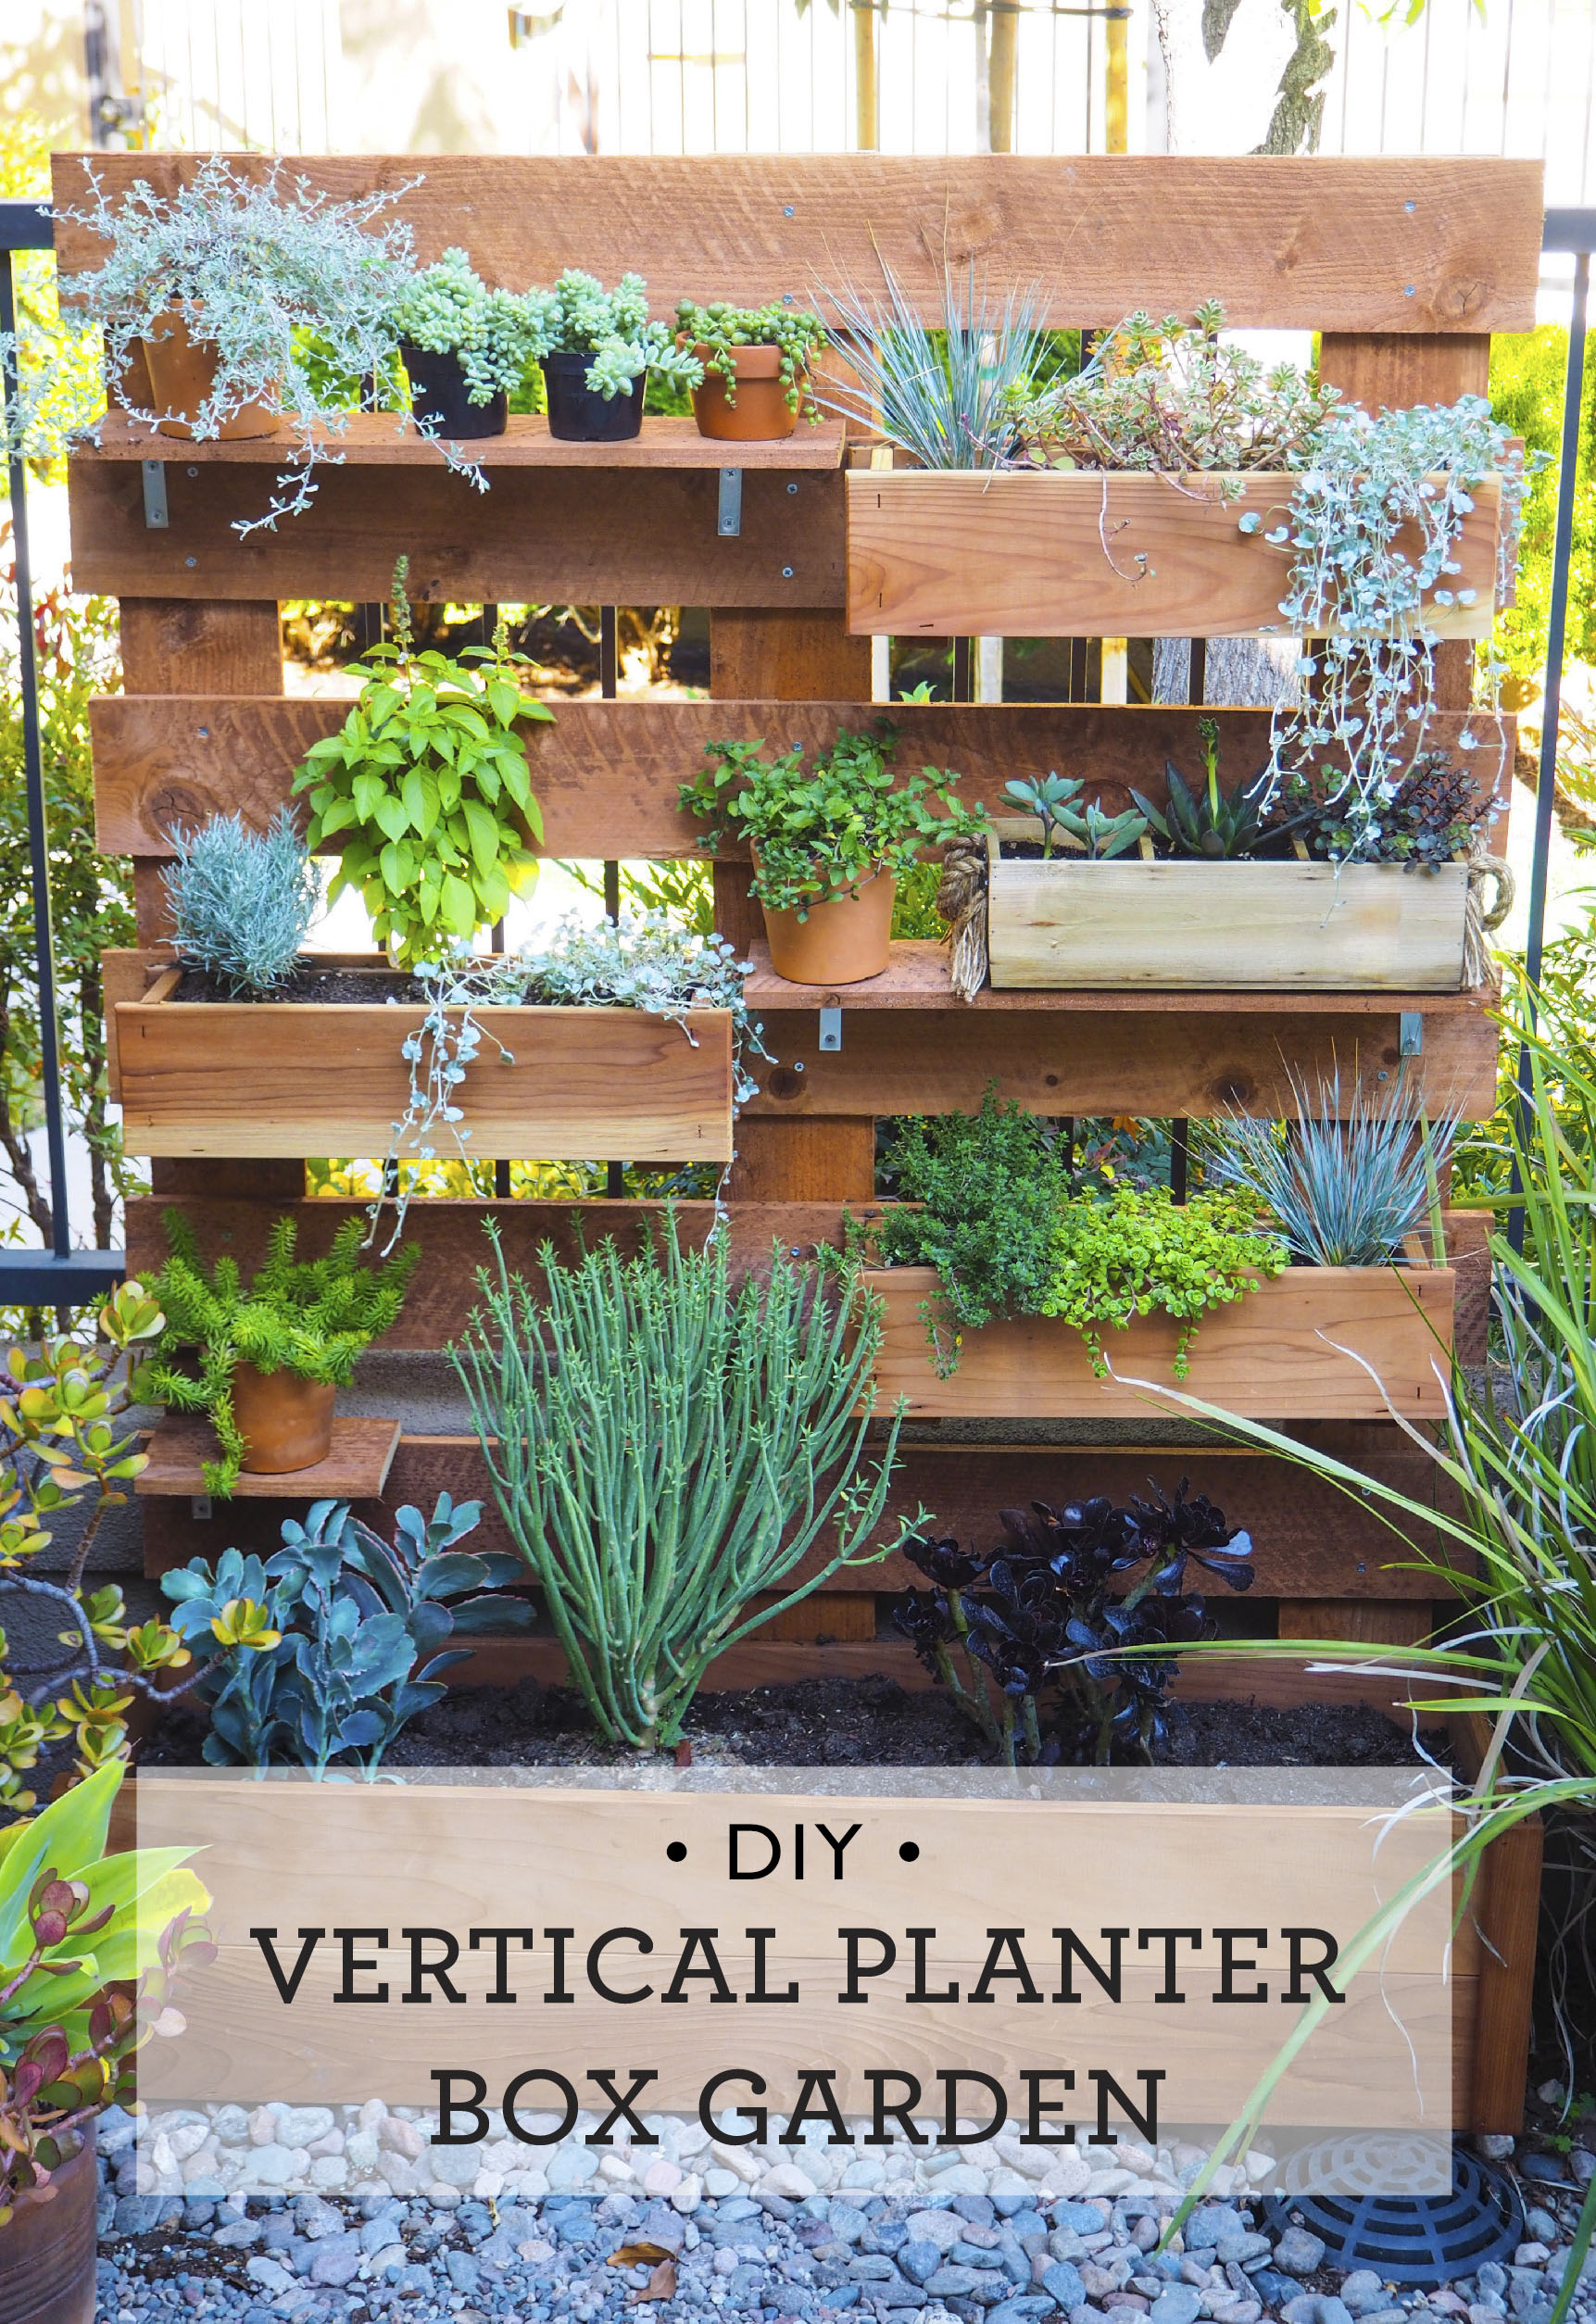
This post is sponsored by Wood, Naturally. All opinions are my own.
With summer in full swing, it’s the perfect time to get outside! I’m fortunate to have a small patio in the front of my house that I love not only entertaining in, but also just hanging out and catching up on some much needed Vitamin D from the sun. Over the years, I’ve done some simple landscaping, but there is one corner that has always bothered me.
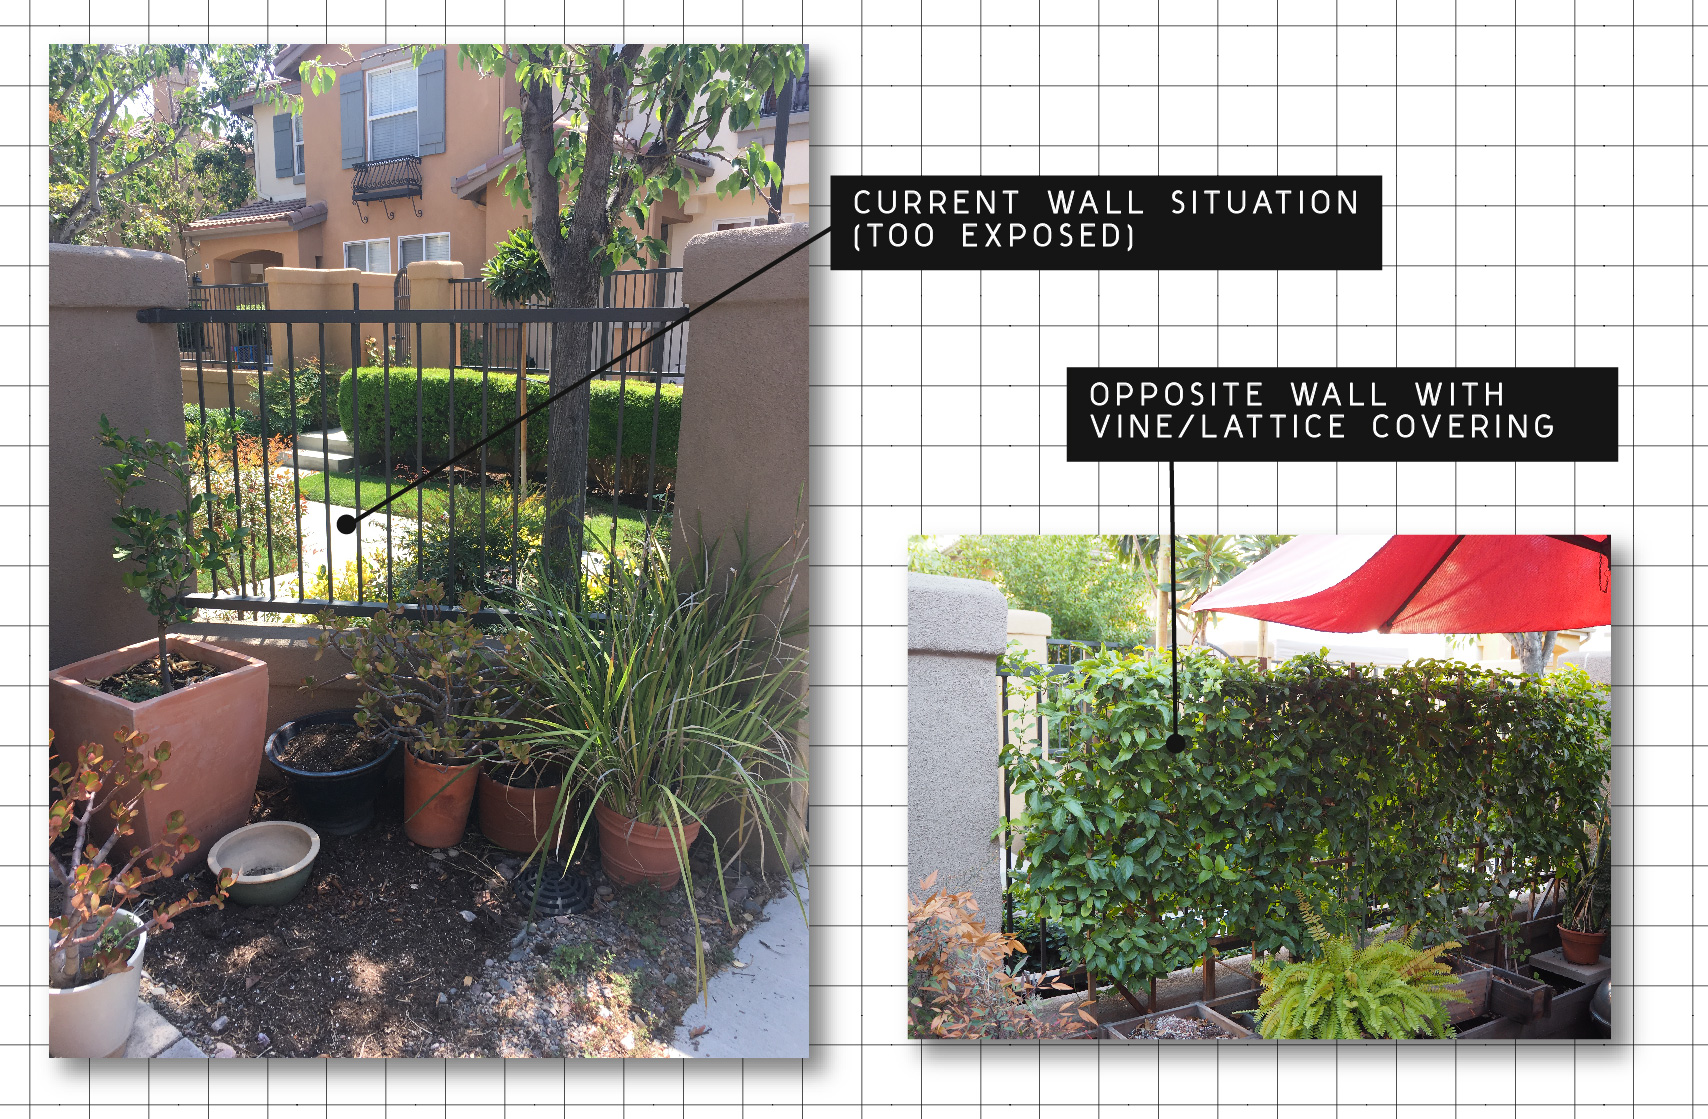
You see, while I love the patio itself, I prefer to enjoy it with a little more privacy. Currently, my patio is enclosed by a wall that has gated openings as seen in the image below. On one side, I put up some lattice that I attached some vines to. Over time, it’s grown in and has become a nice screen. However, I haven’t put anything on the other side, which leaves it open and exposed.
I’ve been thinking about building some sort of vertical garden, so when the folks at Wood, Naturally contacted me about collaborating, I thought this would be the perfect opportunity to make that happen! What is Wood, Naturally? Well, it’s a campaign, funded by the Softwood Lumber Board, to educate and inspire homeowners and contractors to use soft wood lumber in, on, and around their homes (Softwoods are species such as redwood, pine, cedar, and Douglas fir – commonly used in patios, decking, framing, porches, siding, molding and trim.)
I saw a piece from IKEA earlier this Spring, and liked the idea of it, but the dimensions were a little too small, and I also thought it would be nicer if the base was also a planter. Then, a few weeks ago, I saw this cool fence idea in a model home and loved the idea of planter boxes integrated into the fence. So… I thought about combining both concepts as a DIY vertical box planter-wall… thingy? (Lol)
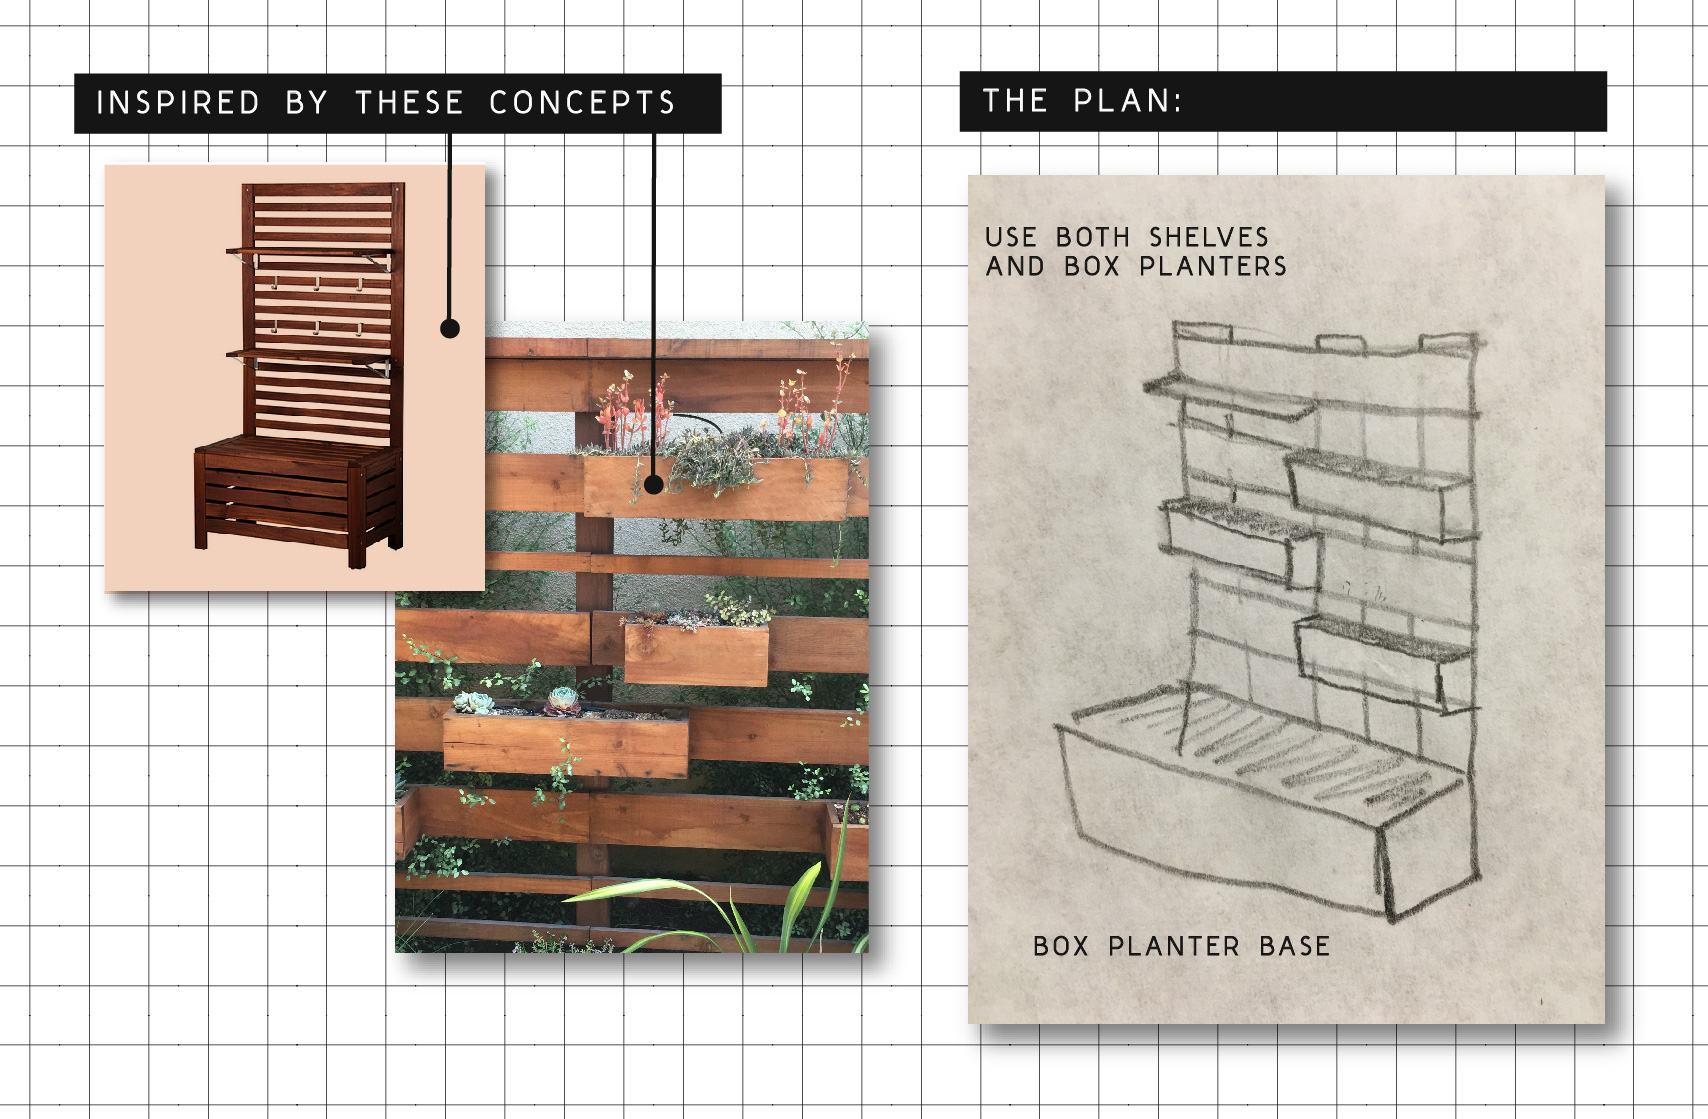
Here was my plan:
I saw these pre-made redwood planter boxes at the local hardware store.
I found a large 4 foot one that I could use as the base. Then I picked up some smaller 2 foot ones that I would use above it.
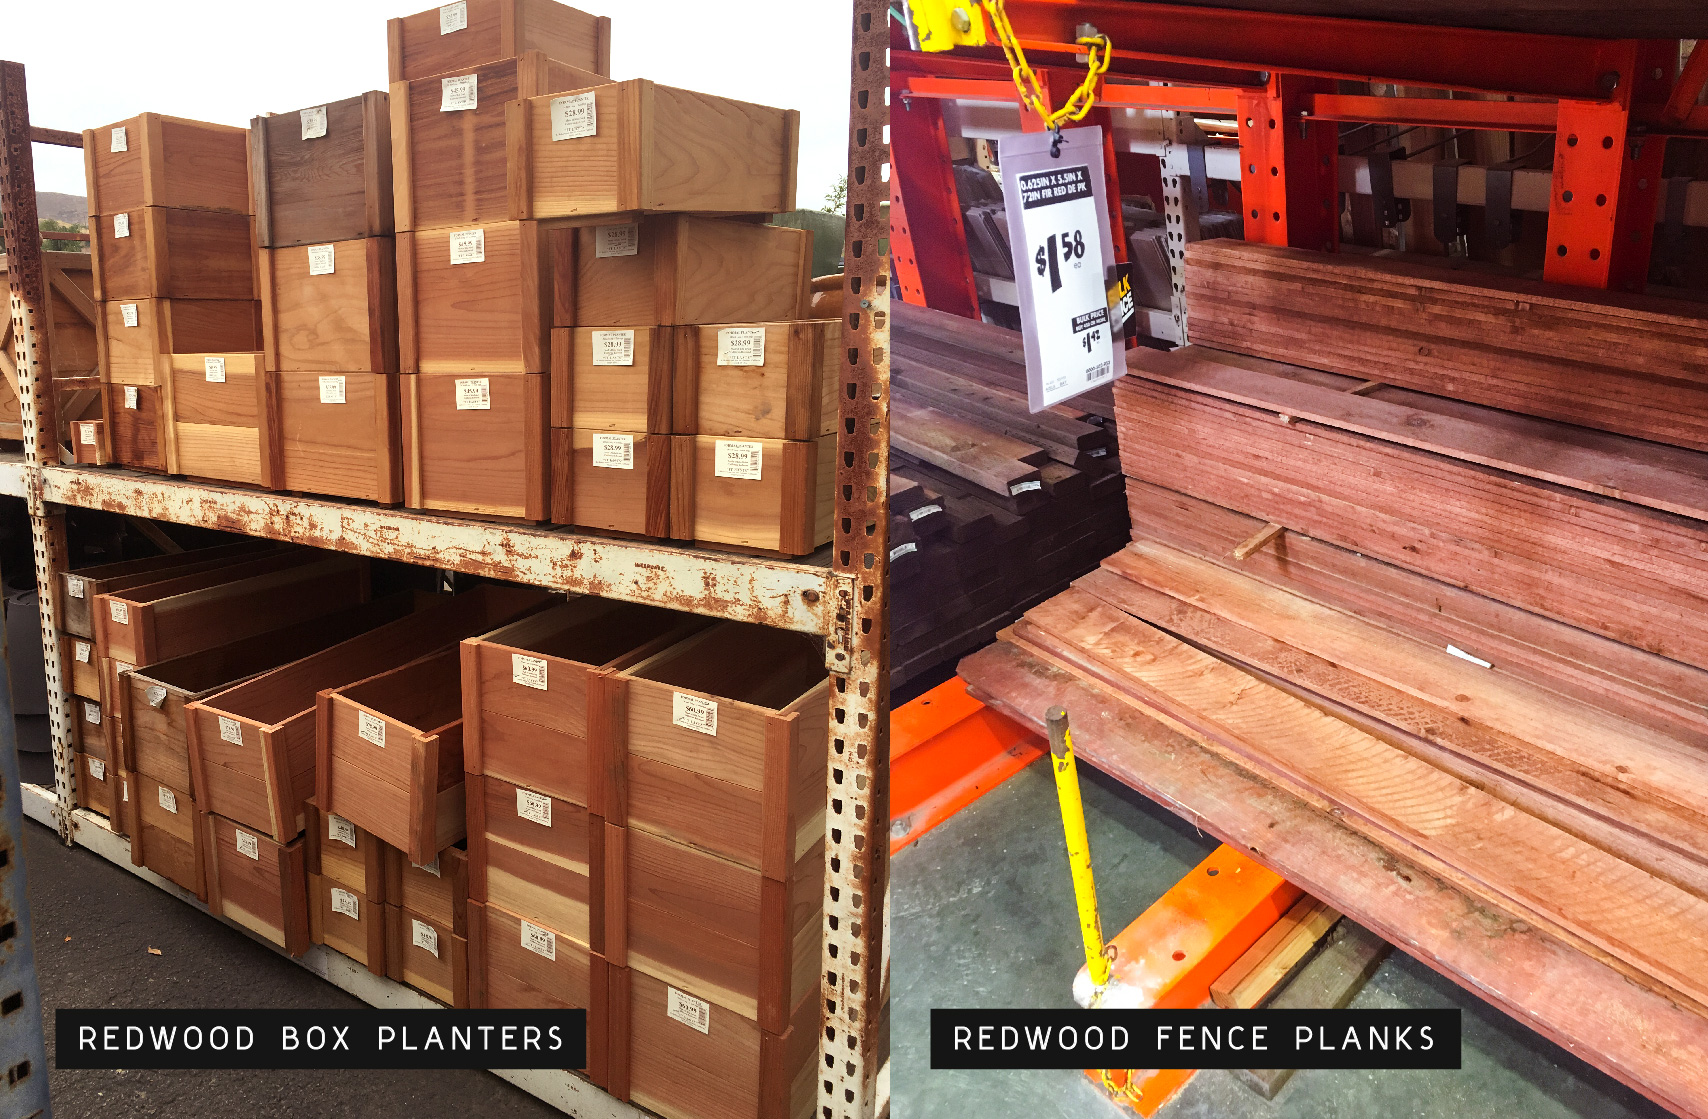
I then got some planks of redwood fencing.. If you were feeling super handy, I think you could actually make the whole thing out of the redwood fencing planks (would probably be less expensive too). You could customize the length and widths of the boxes by making the boxes yourself. But in my case, I wanted to get this done in an afternoon, so having the boxes already made was ideal for me.
The fence planks I got were 6 feet long. I got 8 planks. I would use 3 for vertical supports (cut down to the height of the existing wall of my patio) and the rest I had cut to 4 feet long, which gave me several 2 foot planks leftover that I would use as shelves.
I then picked up some wood screws and a few “L” brackets and got to work!
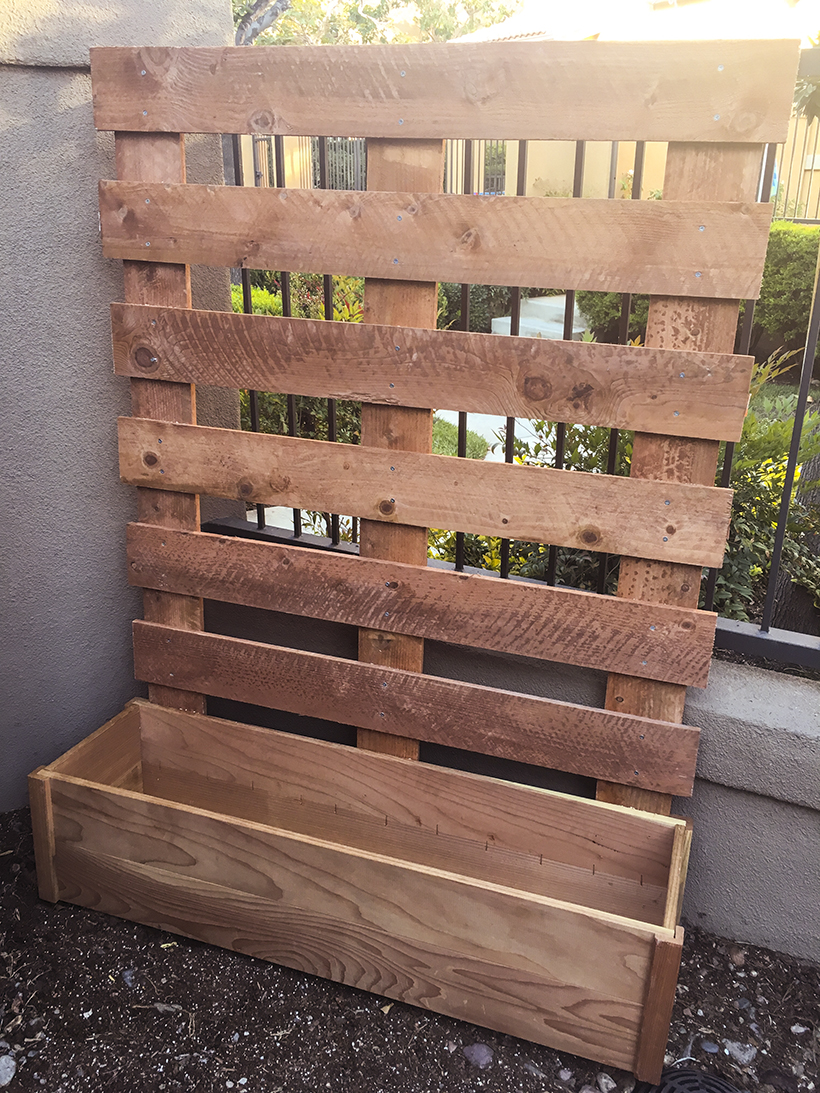
I first attached the vertical planks to the back of the base box planter. Then, I attached the horizontal slats. Here’s what it looked like with just the vertical and horizontal planks screwed into the base box planter.
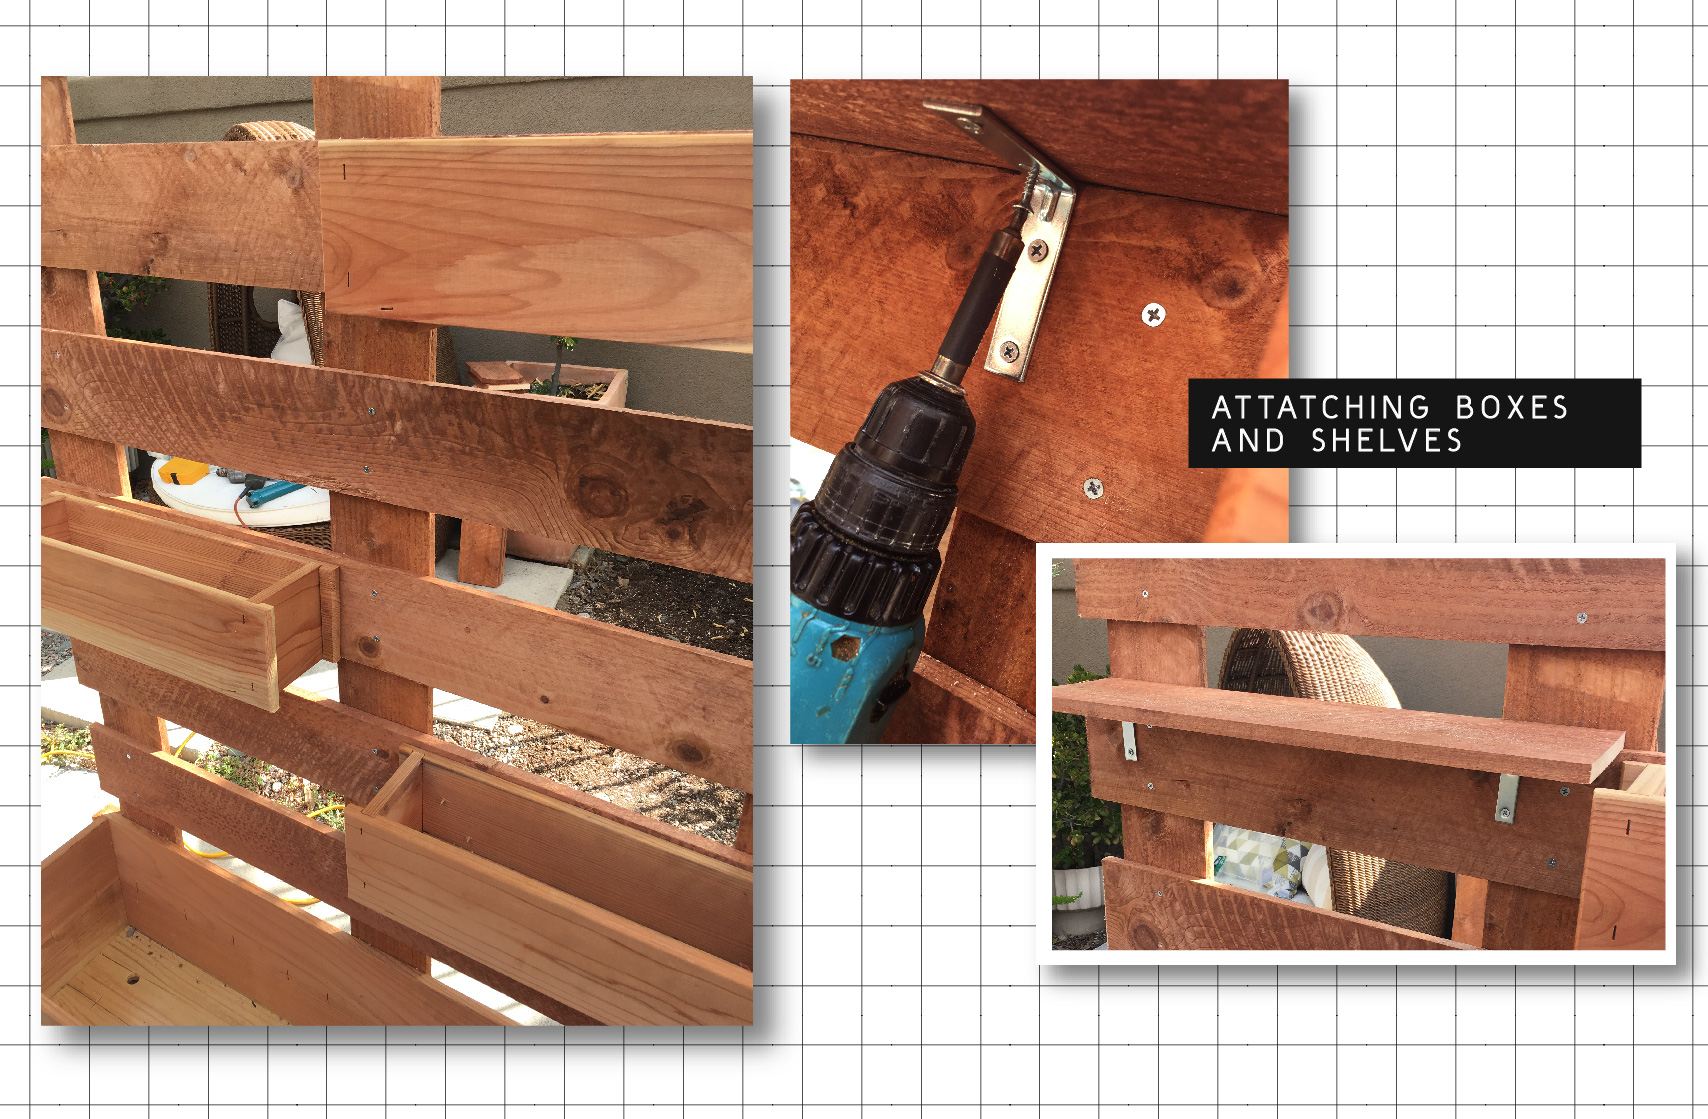
Once the horizontal slats were in place, I attached the smaller planter boxes, screwing them in from the back. I staggered their positions, and finally, I put up the shelves, supporting them with L-brackets.
All that was left was to add potting soil and placing a selection of potted plants on the shelves.
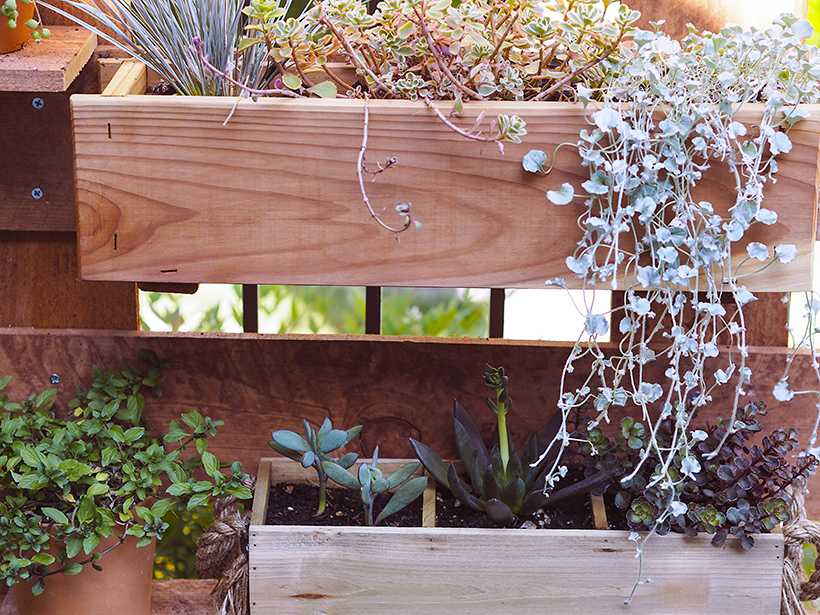
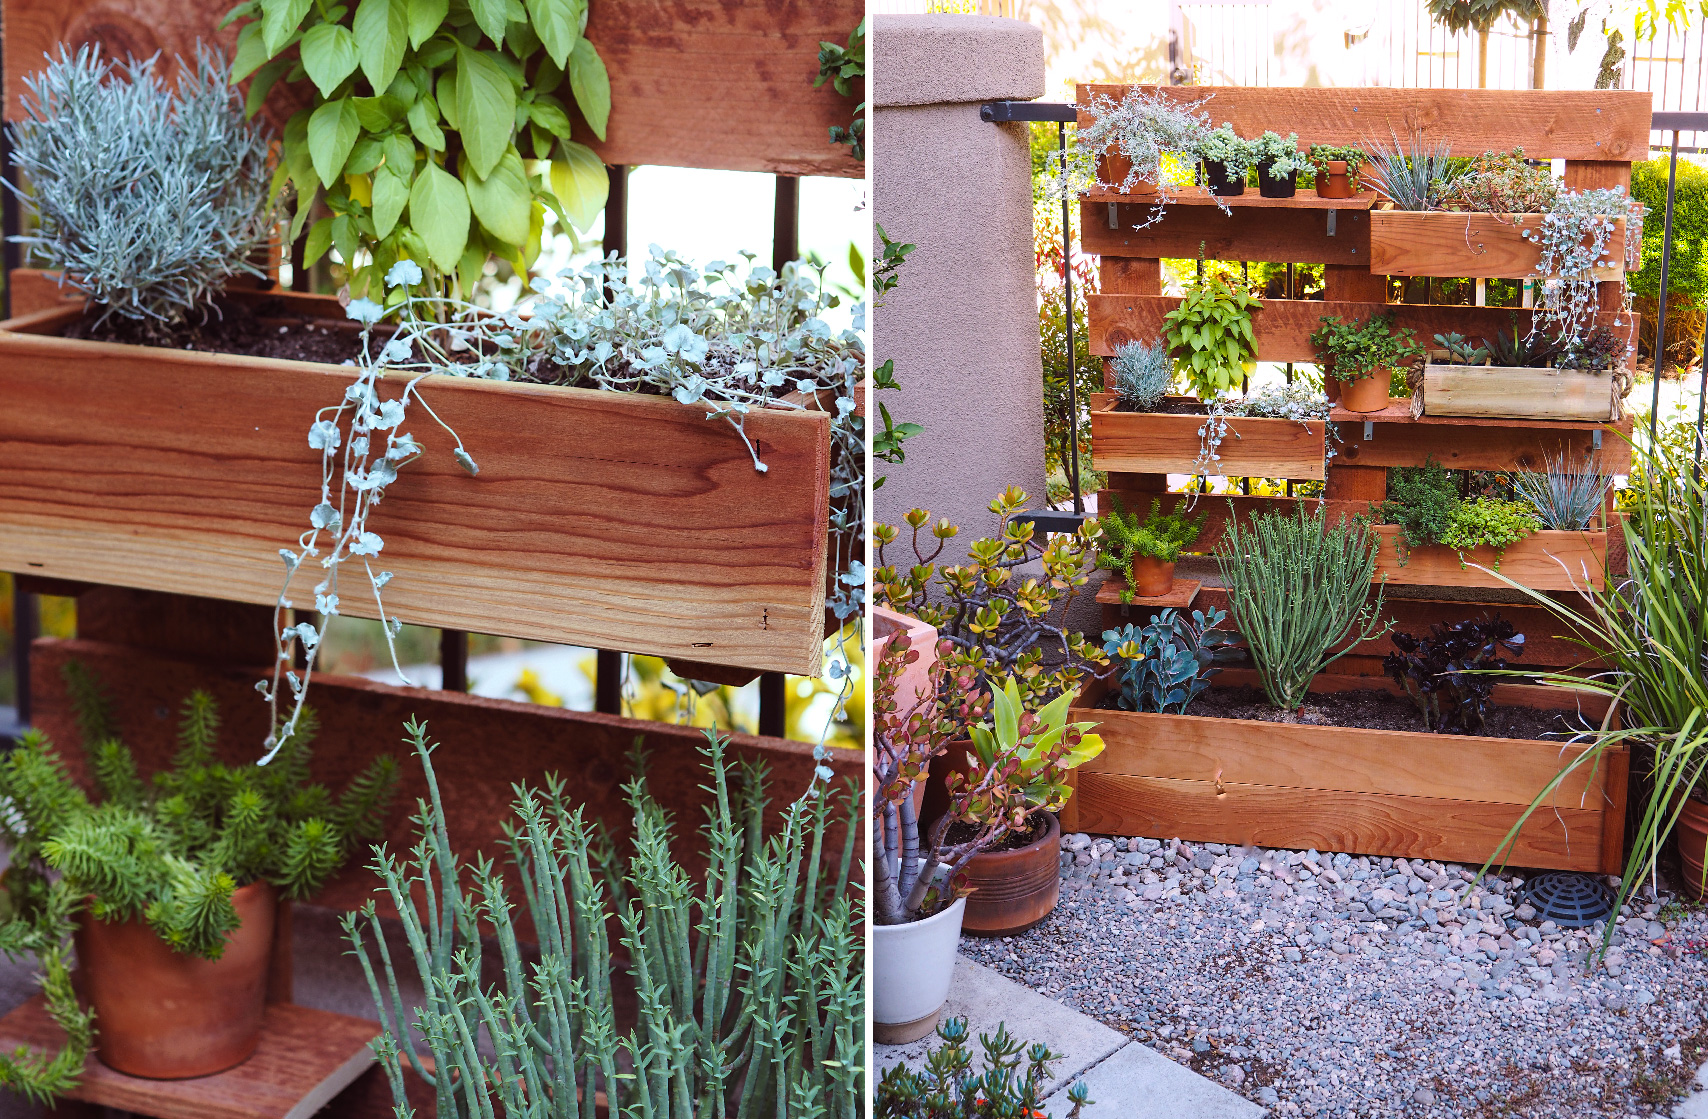
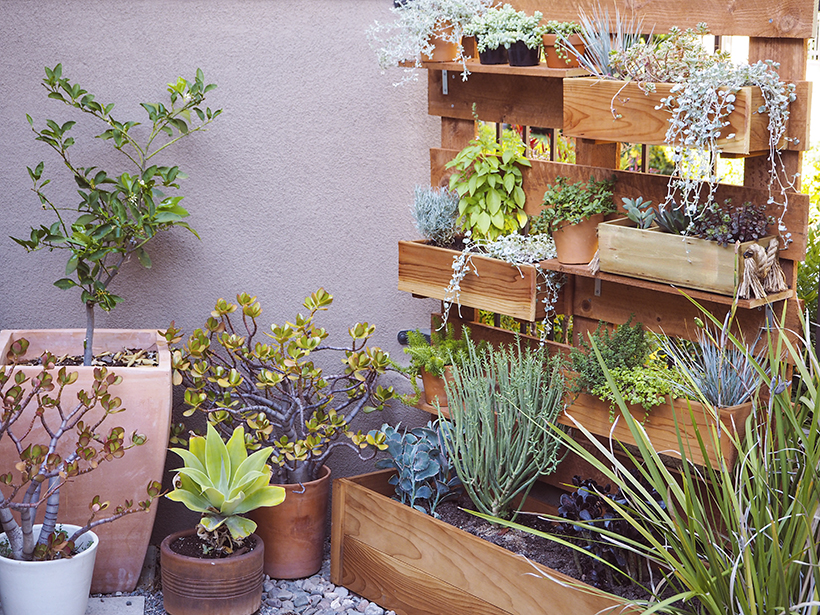
Now I have a fun focal point to the yard that also doubles as a privacy wall. What’s nice about having the planter box as the base is that everything is self-contained and moveable. You could take this one step further and add castors on the bottom. It could be a great solution for a balcony or rental. One of the nice things about using real redwood is that over time, the color will age to a light silvery gray. This will add even more beauty for seasons to come!
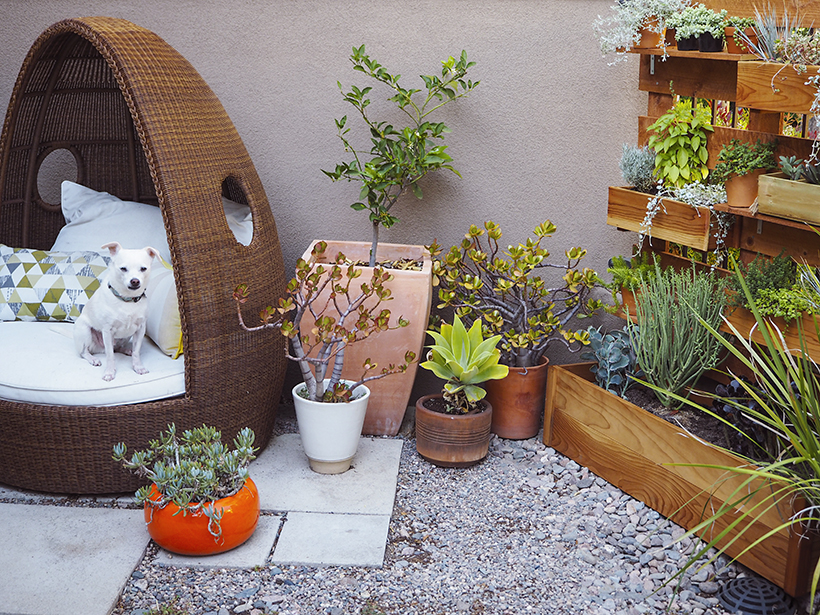
Have you or are you doing any fun summer DIY projects this year? Let me know in the comments or share them on FB or Twitter. And as always, follow more of my shenanigans on Instagram and Snapchat.
Big thanks again to Wood, Naturally for sponsoring this project. Check out their website for more ideas and inspiration on ways to integrate natural soft woods to spruce up your patio, deck, garden, and more!

