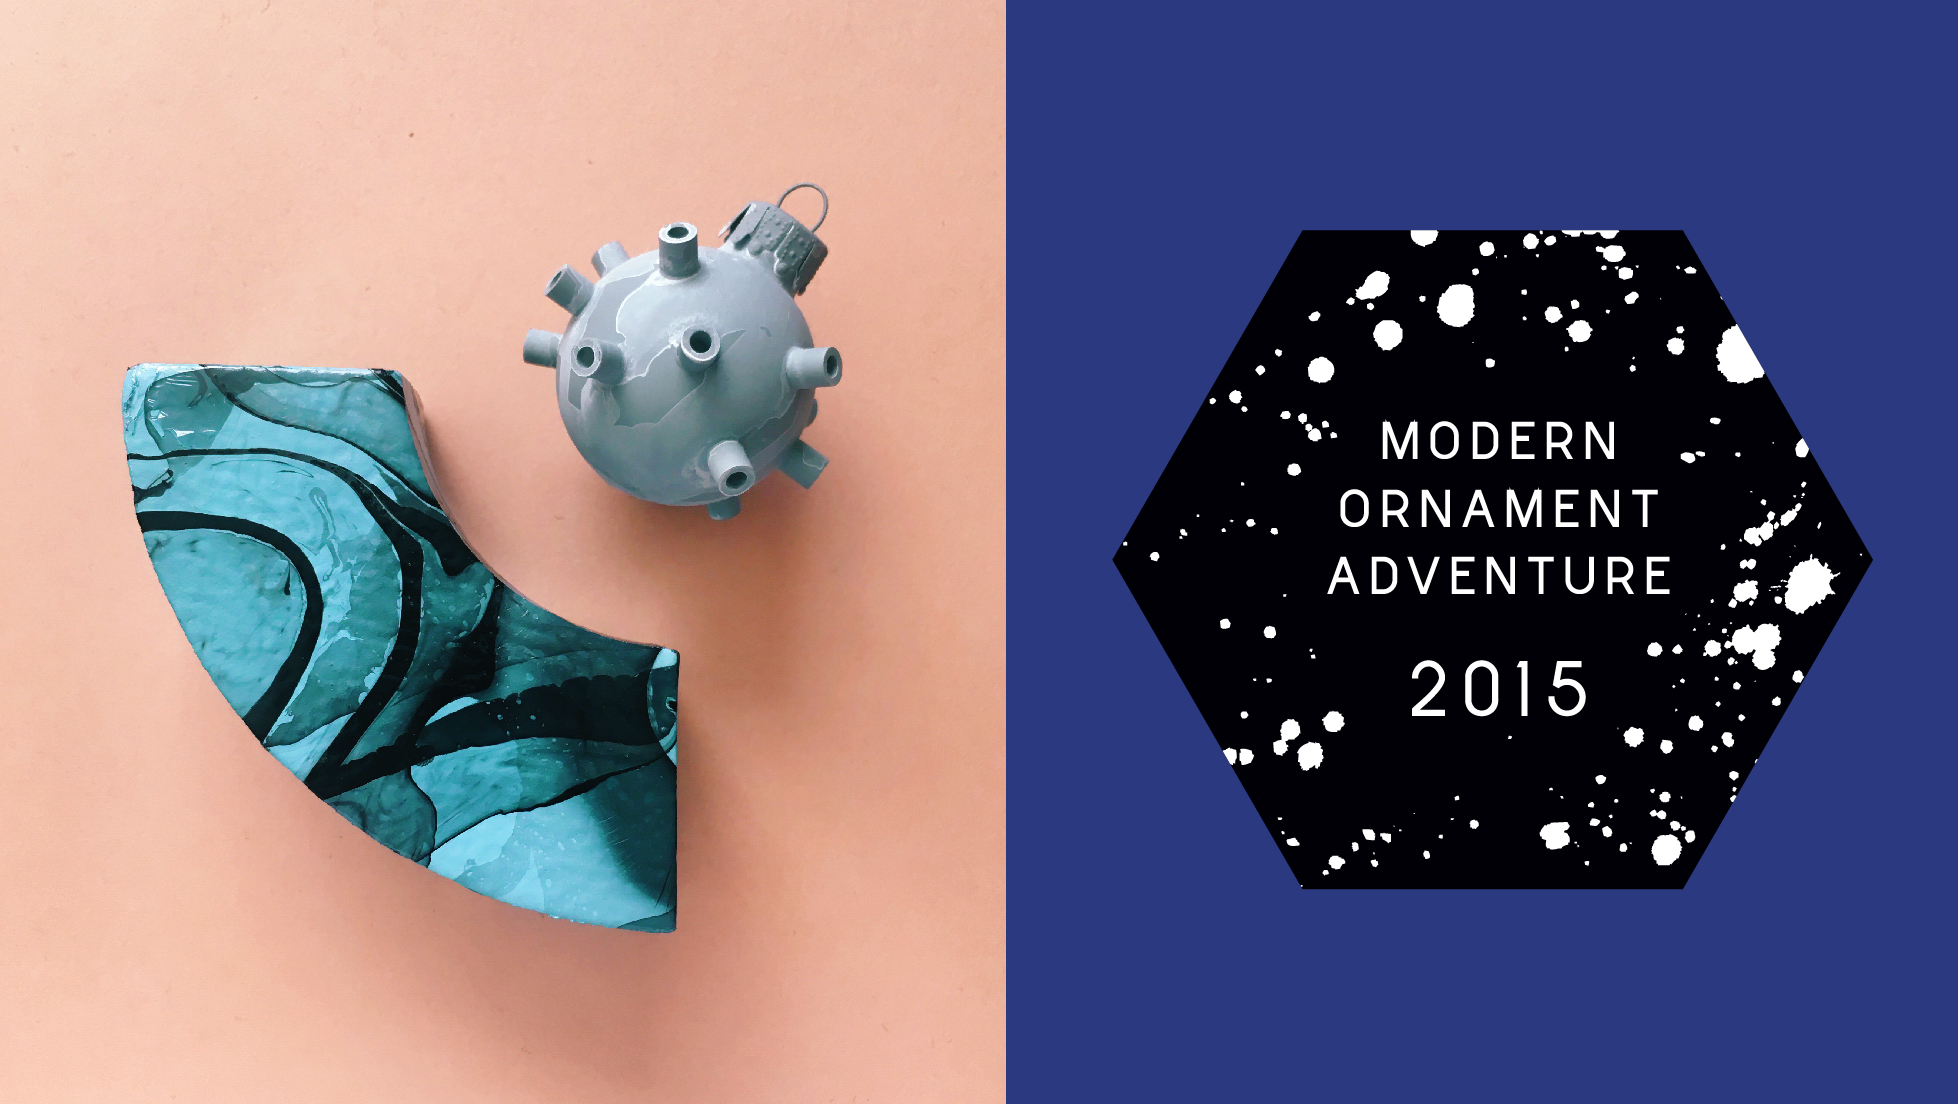
And it’s that time again! It’s my annual modern ornament extravaganza! (Despite the fact that I’m a bit late at getting it going, I am proud that I managed to actually finish before Christmas!) Before we begin, here’s last year’s ornaments and from that post, you can find links to the years before from there. This year I took a lot of the ideas that I’ve done in the past, but re-mixed them a little.
Anyway, back to 2015… My initial inspiration was from the colors of this vase set from Ferm Living.
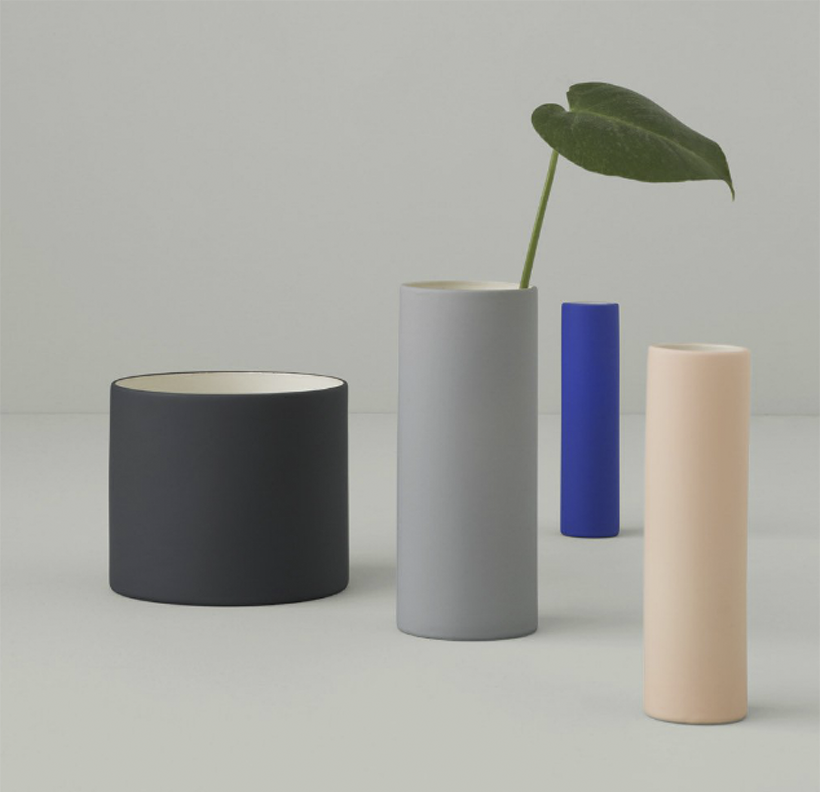
I’m always a fan of unexpected color combos, and love the royal blue, gray and light peachy/coral together. (those of you in the States can get it here)
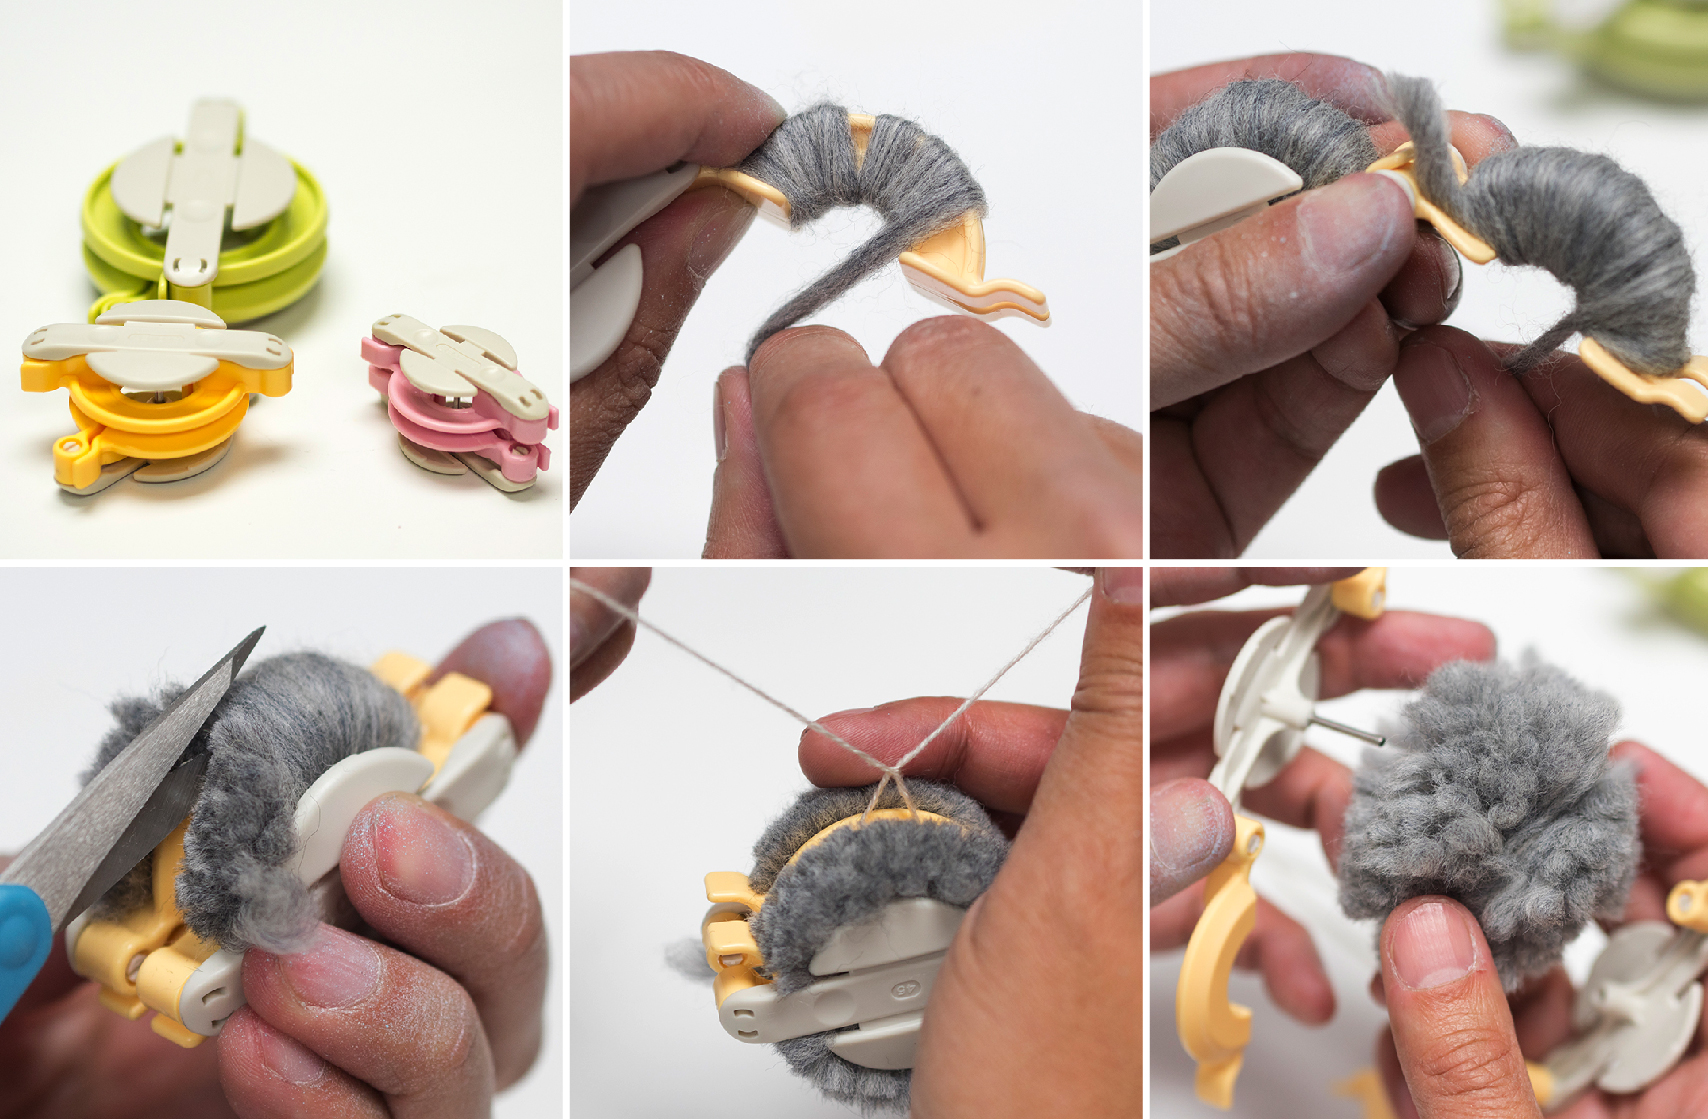
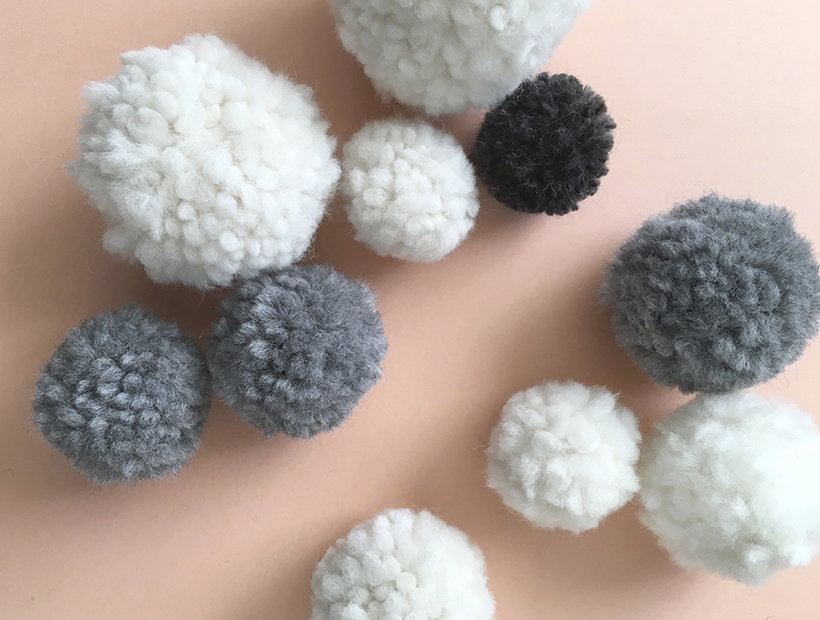
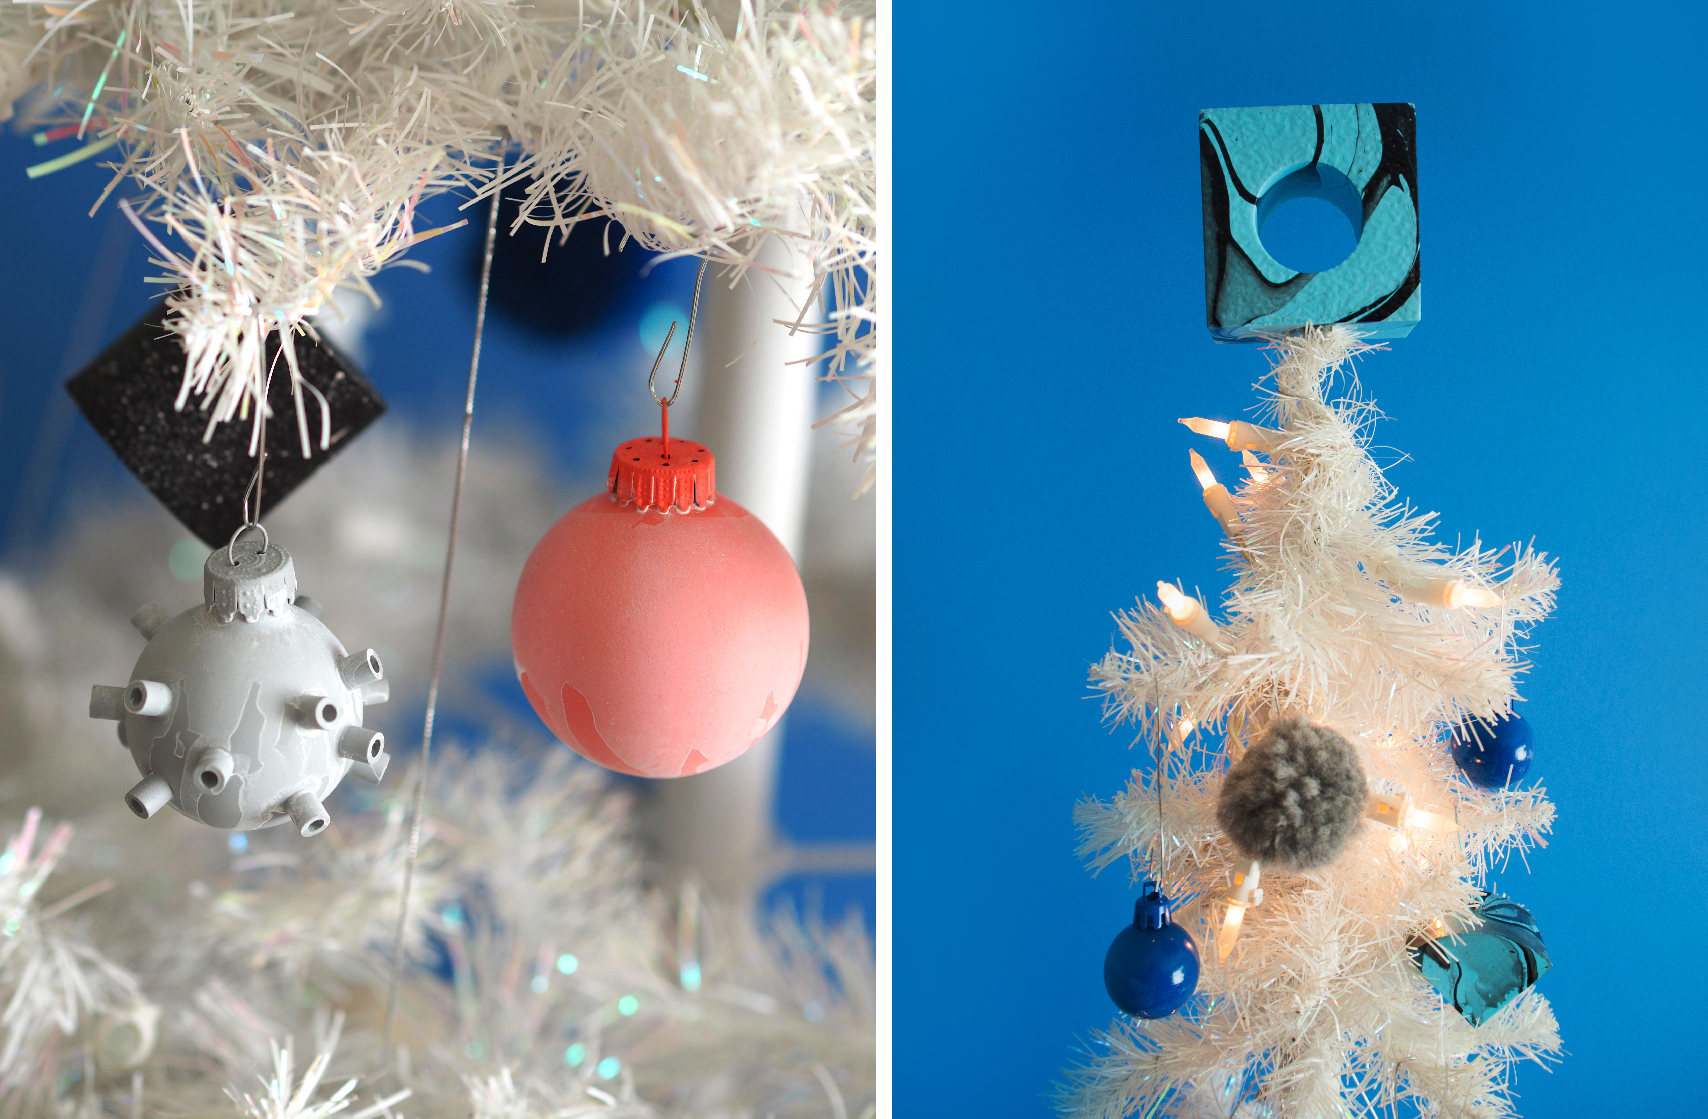
my next idea was to do something with yarn. I’ve done yarn wrapped ornaments before, but this year I decided to take it one step further… pom poms! lol, I know, it’s a little silly but who doesn’t love pom poms? Plus I never really knew how to make them, but these handy dandy pom pom makers made it so easy- I quickly got obsessed and made a jillion of them during a good Netflix binge.
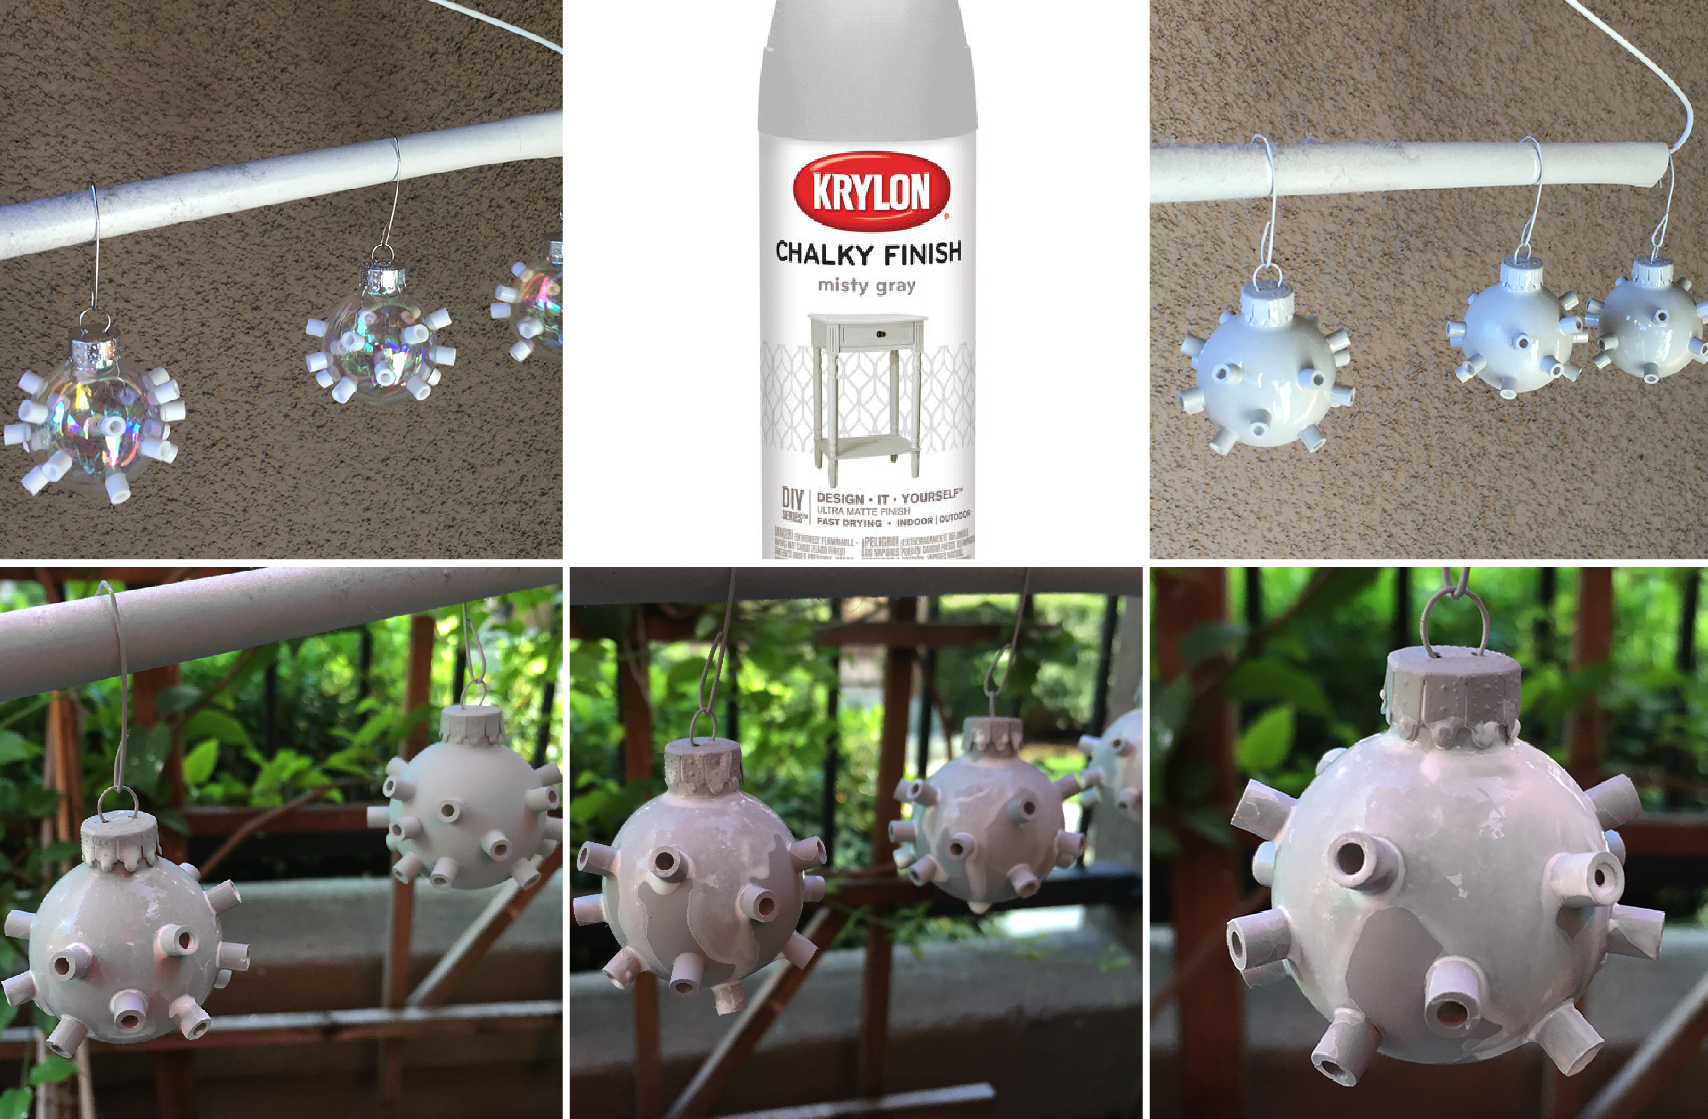
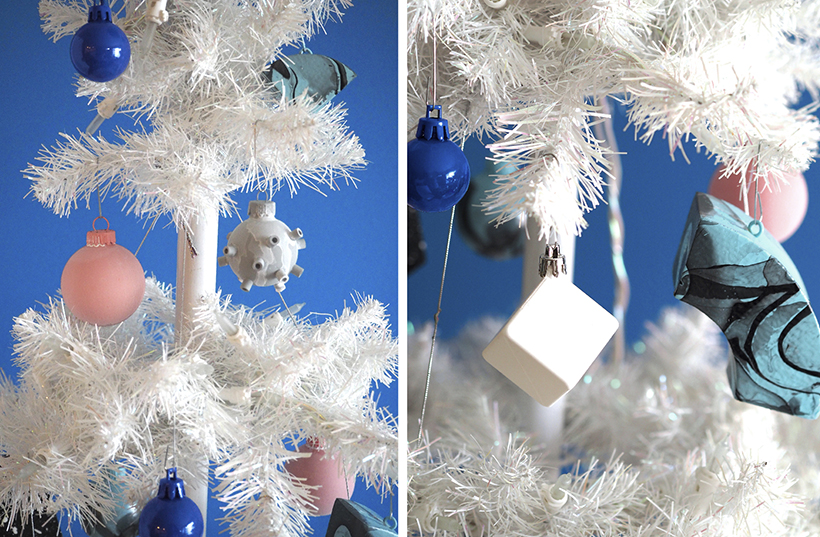
After that I wanted to try something more… sculptural? If you remember my pumpkins from 2014, I used a faux white-wash glaze technique, and so I basically used the same technique. I glued little pieces of these plastic bead things I had leftover from a Christmas project we did for J3 a few years ago. I then sprayed these now “sputnik”-y ornaments with a super matte chalky light gray spray paint. After they dried, I washed them with my watered down white acrylic paint “glaze”.
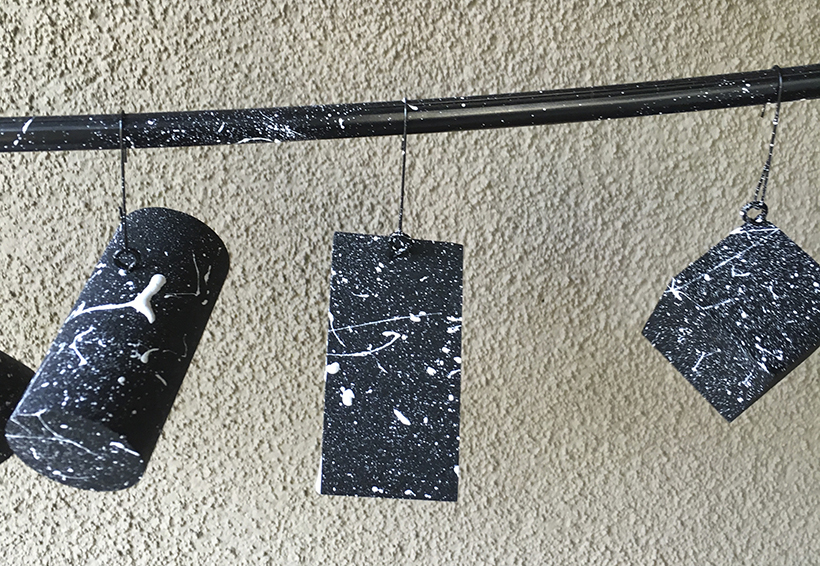
Finally, last year I made some ornaments from some of those children’s foam building blocks. I had speckled them with gold paint spatters. This year, I repainted them and changed the gold to white.
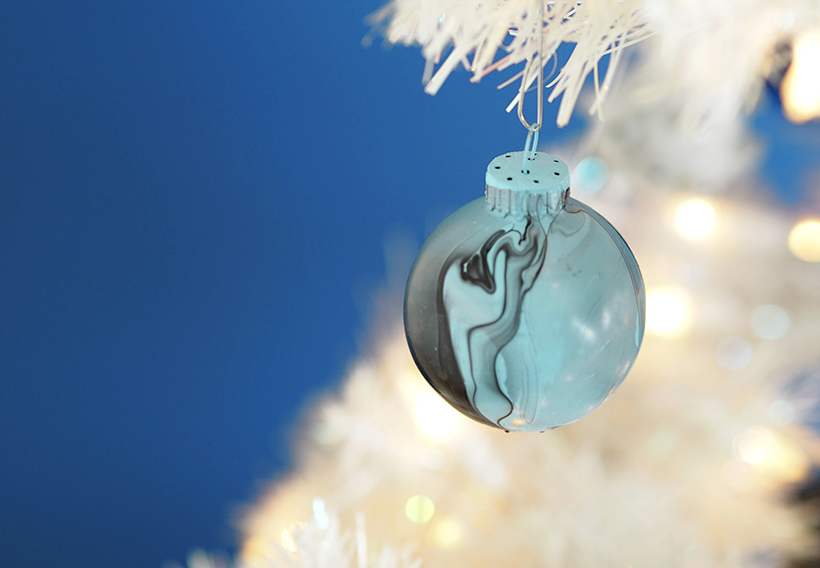
I also took a few more foam pieces and a few plain bulb ornaments and painted them a light blue. At first I was going to just keep them solid, but felt they needed some extra texture. I decided to give them a little marbleized texture. You could actually use this technique on a lot of things. I first saw it on a tv show many years ago, but there are a bunch of youtube tutorials that show you how. It’s pretty easy, all you need are two shades of nail polish, some filtered water, and a bowl or large enough container for whatever you are going to put the marble technique on.
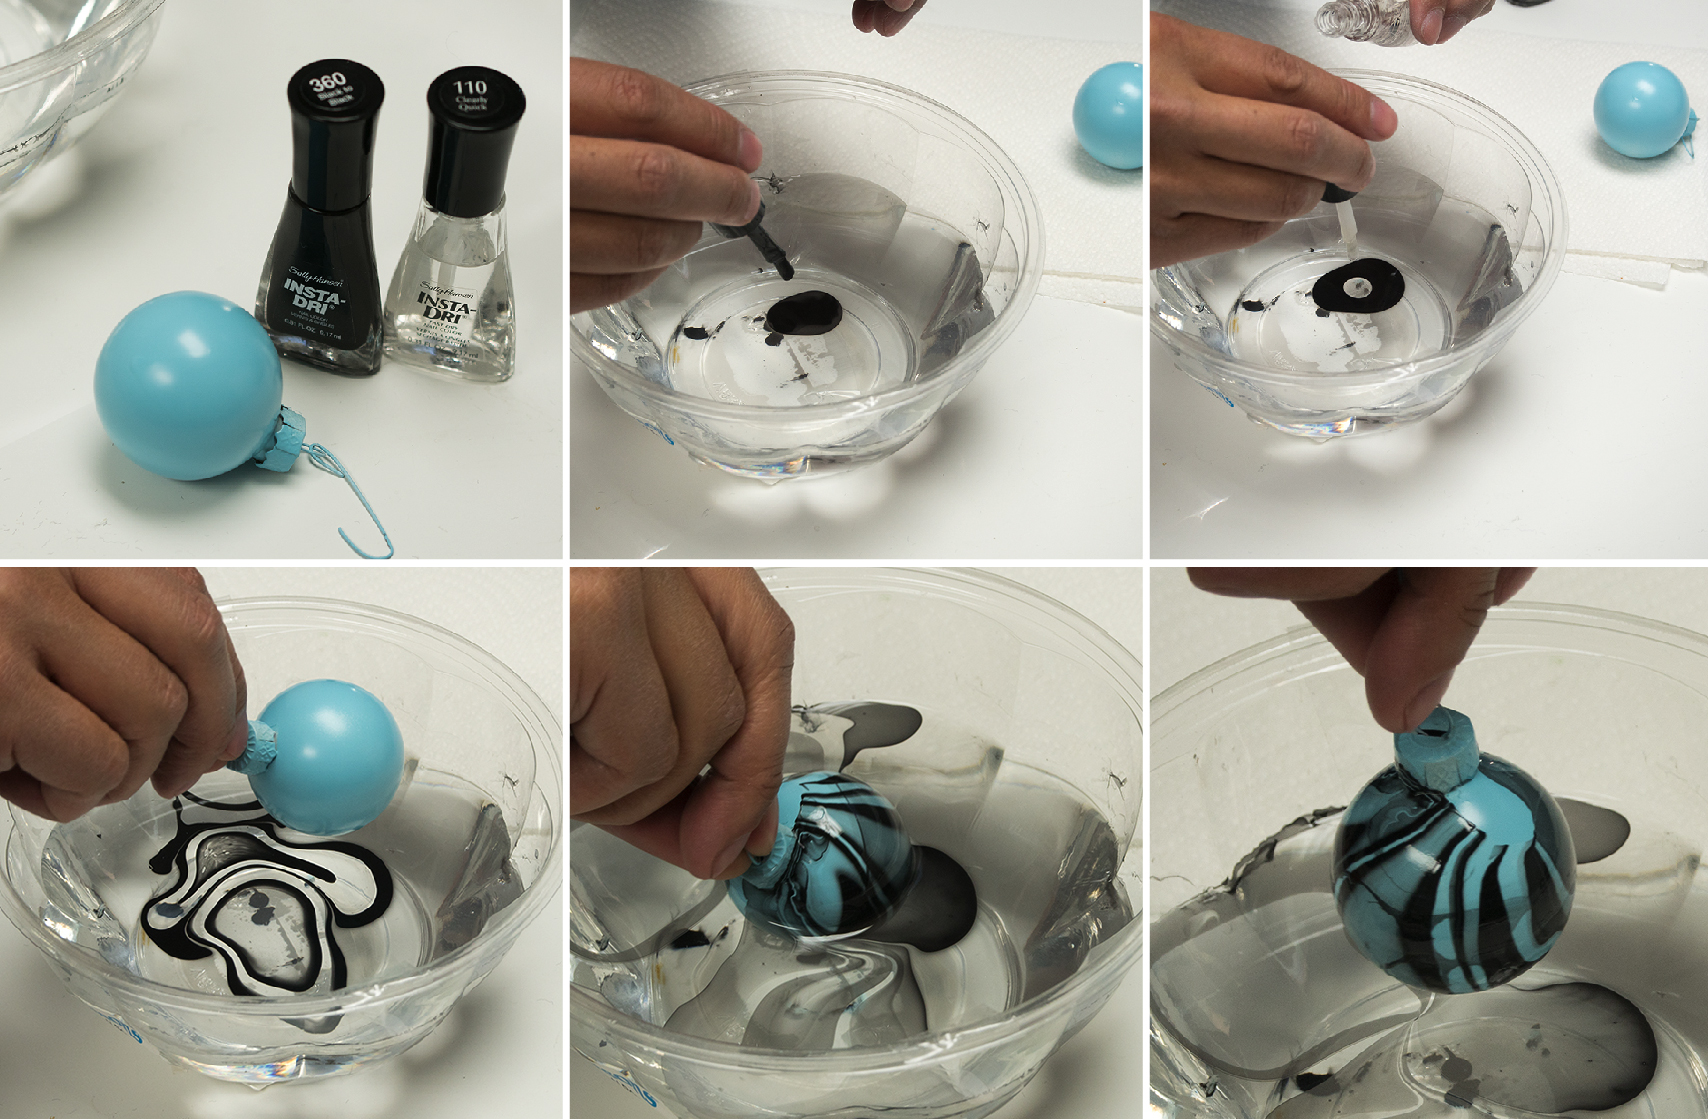
For this, I used a black polish and a clear top coat. The reason you need two is because the second color is used to spread the first color out. It’s totally science experiment, but essentially you put a drop of the first color into the water. That drop floats on top and you drop the second color (in this case clear) and that color spreads and pushes the first color out. All the paint stays on the surface. You have to work fast before the paint dries and forms a hard film on the surface of the water, but it’s pretty fun. Also make sure you’re doing this in a well ventilated area. The nail polish fumes can get be strong. After you’ve dropped the polish into the water and it’s started to form swirls, you just dip your object. The polish sticks to your item. I played around with fully submerging the ornaments and also just half dipping them. Again, it’s kind of trial and error, but I’m really happy with the results.
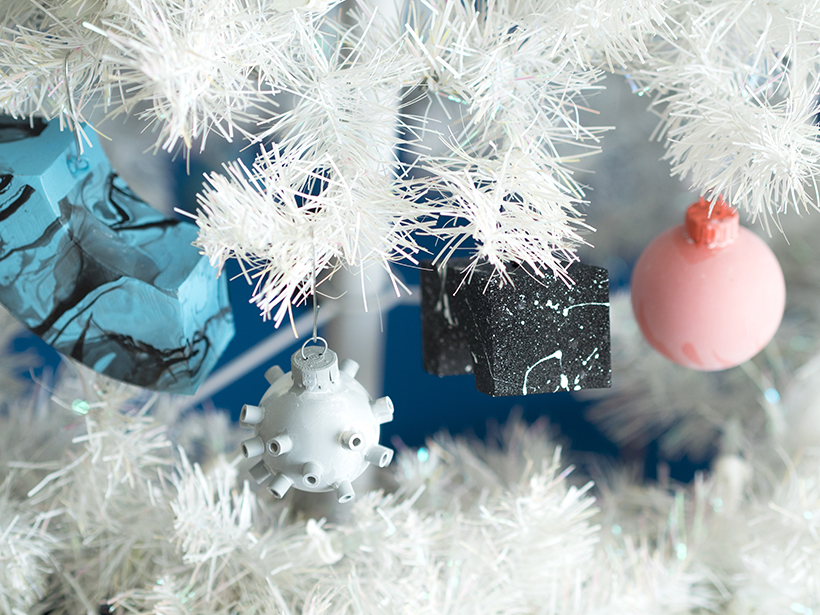
Finally, I just mixed all the different ornaments together, and you have this year’s tree! Modern ornament adventure 2015 complete!
Stay tuned for the full Happy Mundane Holiday 2015, including what I did for gift wrapping and a matching tablescape! Now I need to run back out for a few last minute gifts! Hope you’re all enjoying the season so far! Be sure to follow me on Insta and also snapchat (happymundane) for more on the fly mundane shenanigans!

