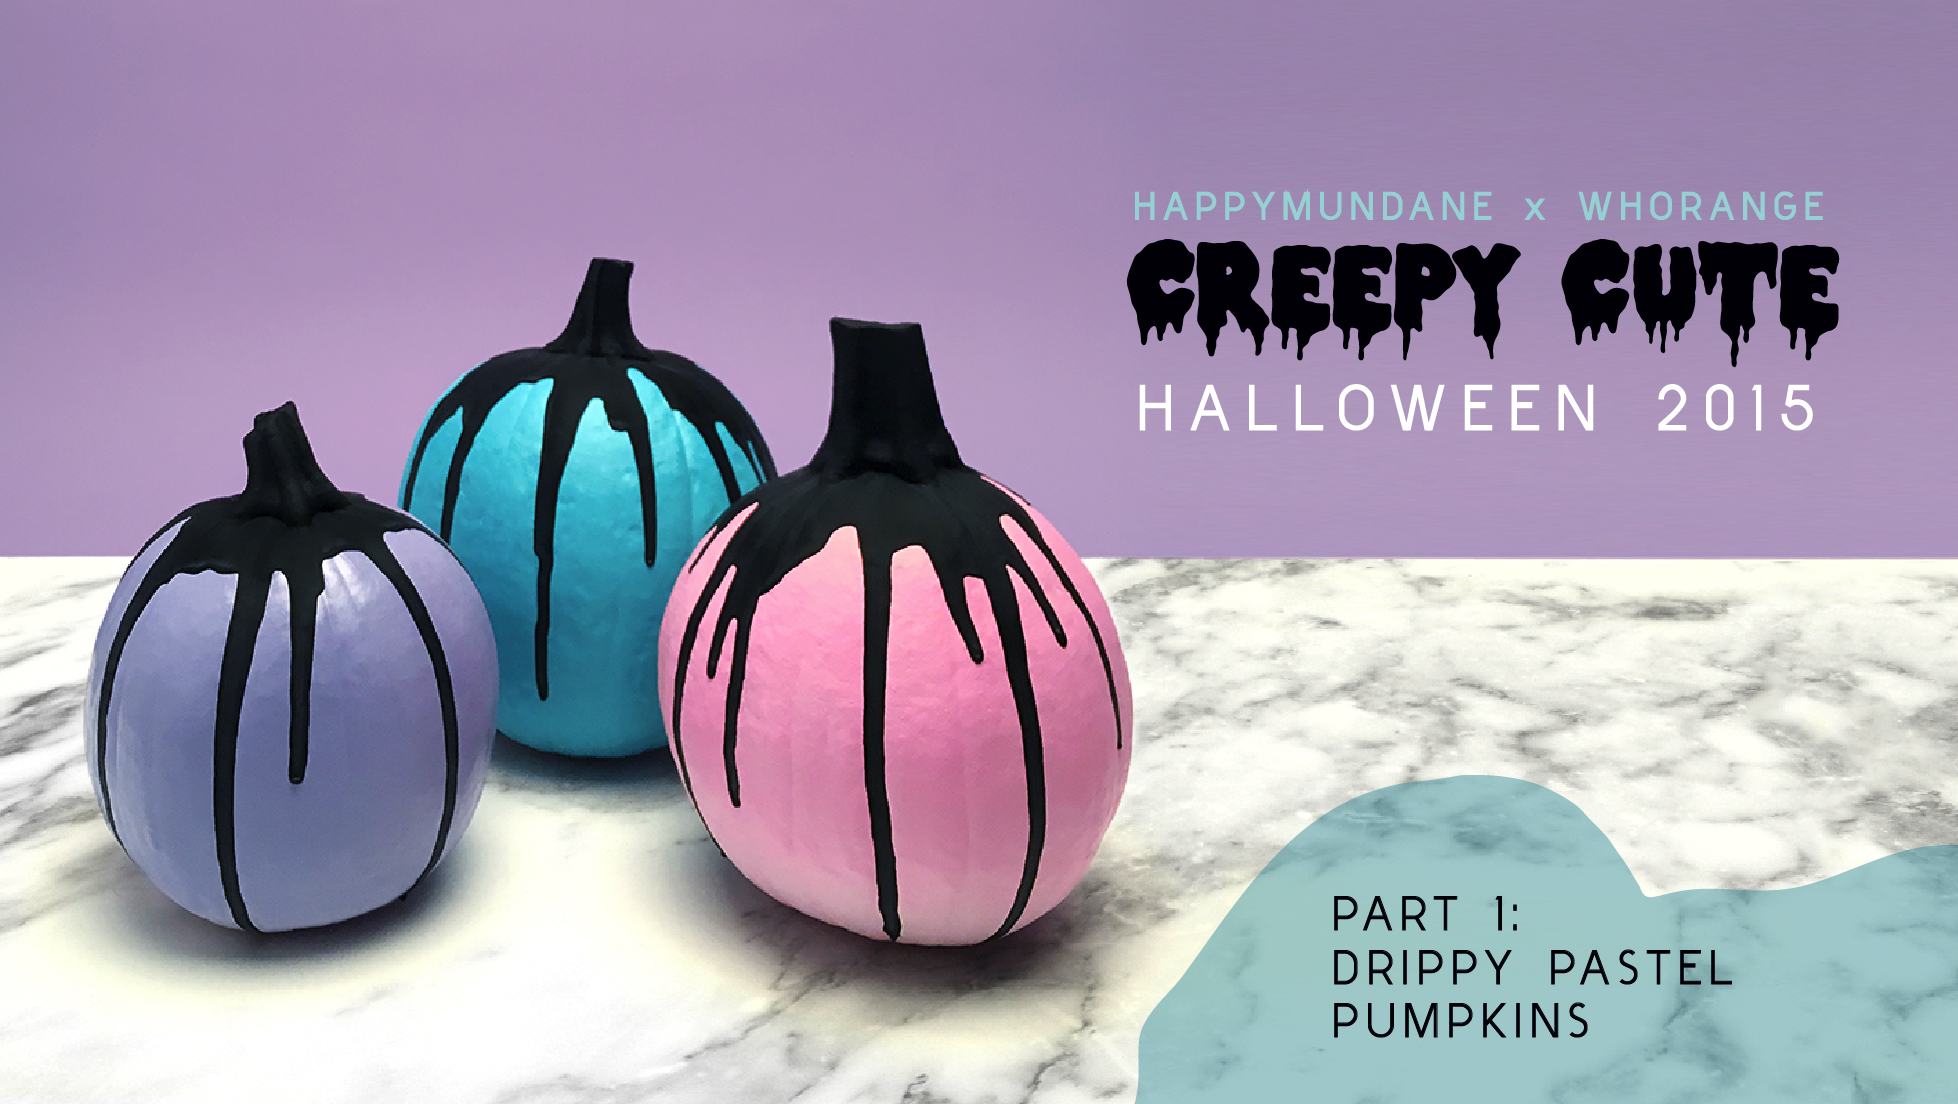
I can’t believe it’s already here, but it’s that time again! Every year I always love having a “great pumpkin adventure” and for 2015, I have to say this is going to be my most funnest one, like, ever. My many years of working in the fashion and design industries have introduced me to a lot of interesting style subcultures- especially Japanese ones. One in particular that I’ve been fascinated with is “pastel goth” and the whole “kawaii” phenomenon. Just google it and you’ll see that it’s totally, like… a thing. For reals. But what a wonderful thing it is! Had I known about this when I was in grade school, I would have been all over it!
Halloween is known for being creepy- But “creepy” doesn’t need to be all dark and gory. It can be… CREEPY CUTE! And who is the cutest person I could think of to collaborate on something as fang-tastic as a Pastel Goth inspired Halloween extravaganza? None other than Tula from Whorange!
So, we got our freak on this past week and put together a joint blog-o-rama series of #CREEPYCUTE2015 ideas for the most kawaii Halloween EVER! Go onto her blog and follow her on Instagram and Snapchat to see her amazing posts, like these adorable ghost cookies???! I Die.
But first up on my end: the pumpkins.
So in a pastel goth world, you got to start with pastels, and that’s what we started with.
I’ve learned when it comes to painting pumpkins, if you want the colors to be vibrant, you have to prime them. I just used a basic spray primer.
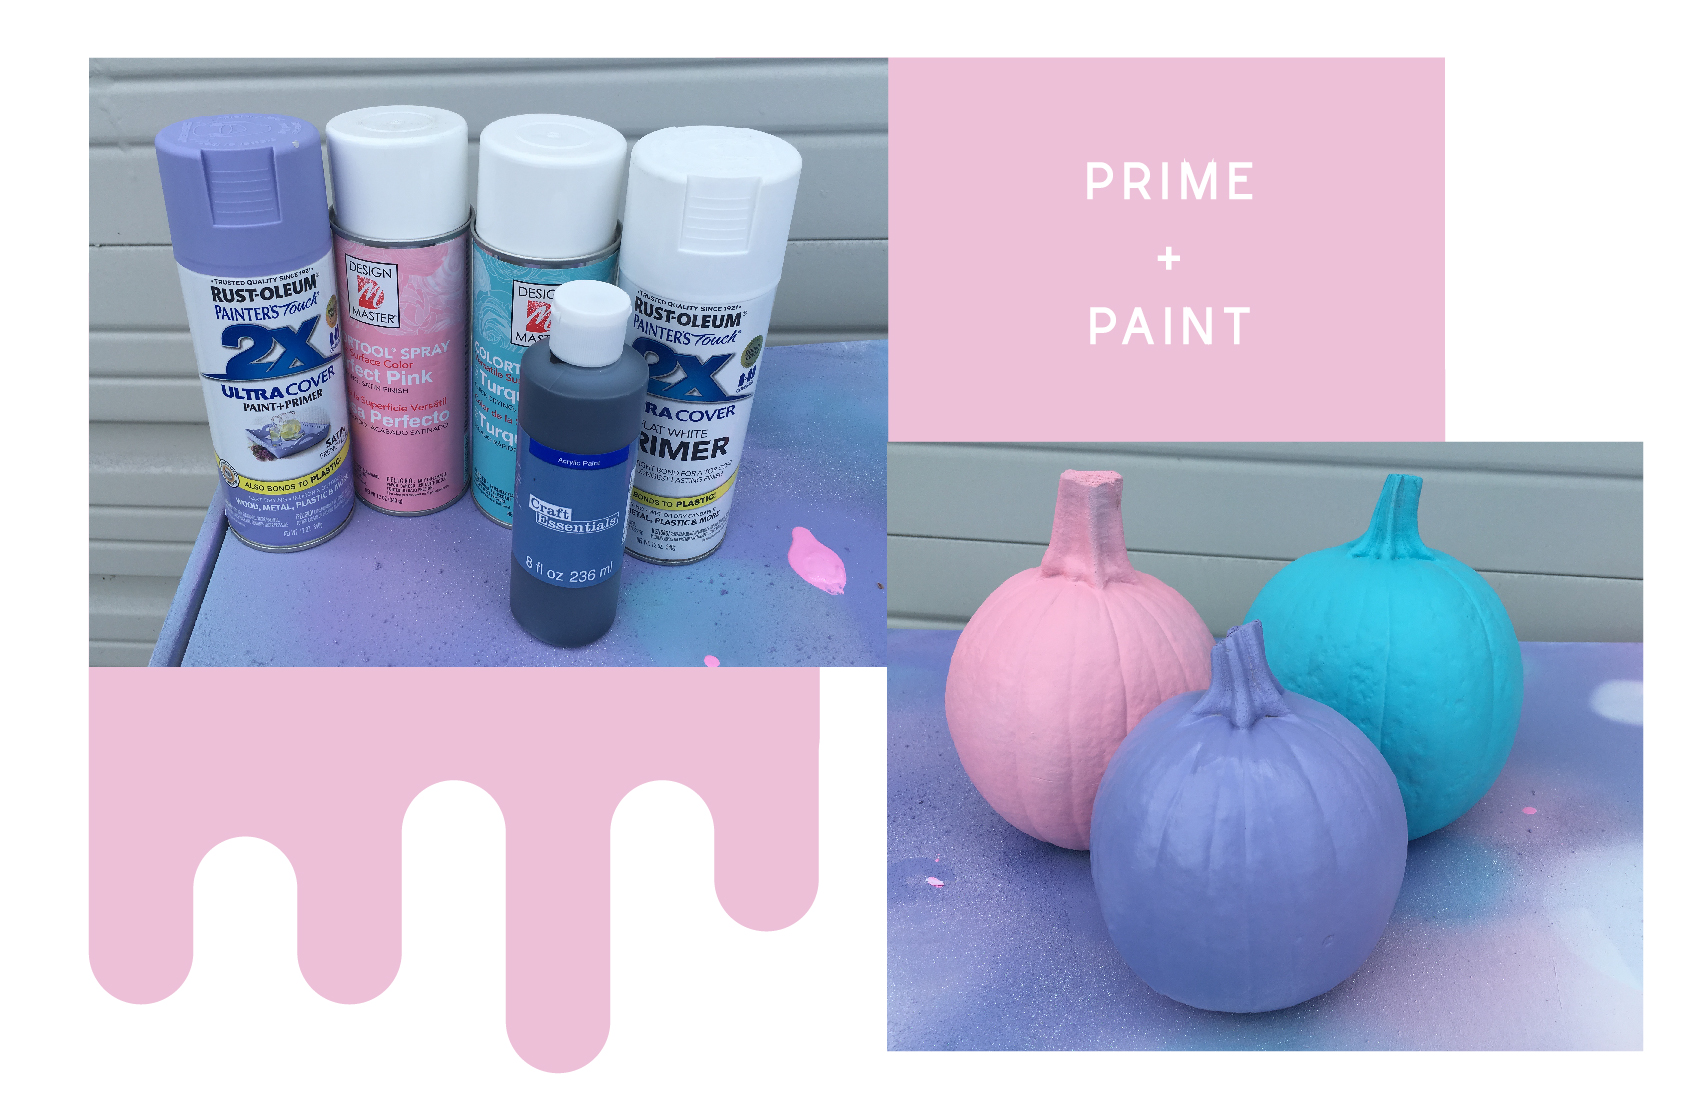
Then I sprayed three pretty pastel shades.
So now that the pumpkins are all cute and pretty, they need some creepy. I opted for plain ol’ black acrylic paint. I found it easier (and cheaper) to get a bottle of it. You can find a good size at most craft stores and they’re pretty affordable. You don’t need the fancy stuff that comes in the tubes. They can sometimes be found in the kids section too, however, I don’t recommend tempera or poster paint. It will crack too much and chip off when it dries.
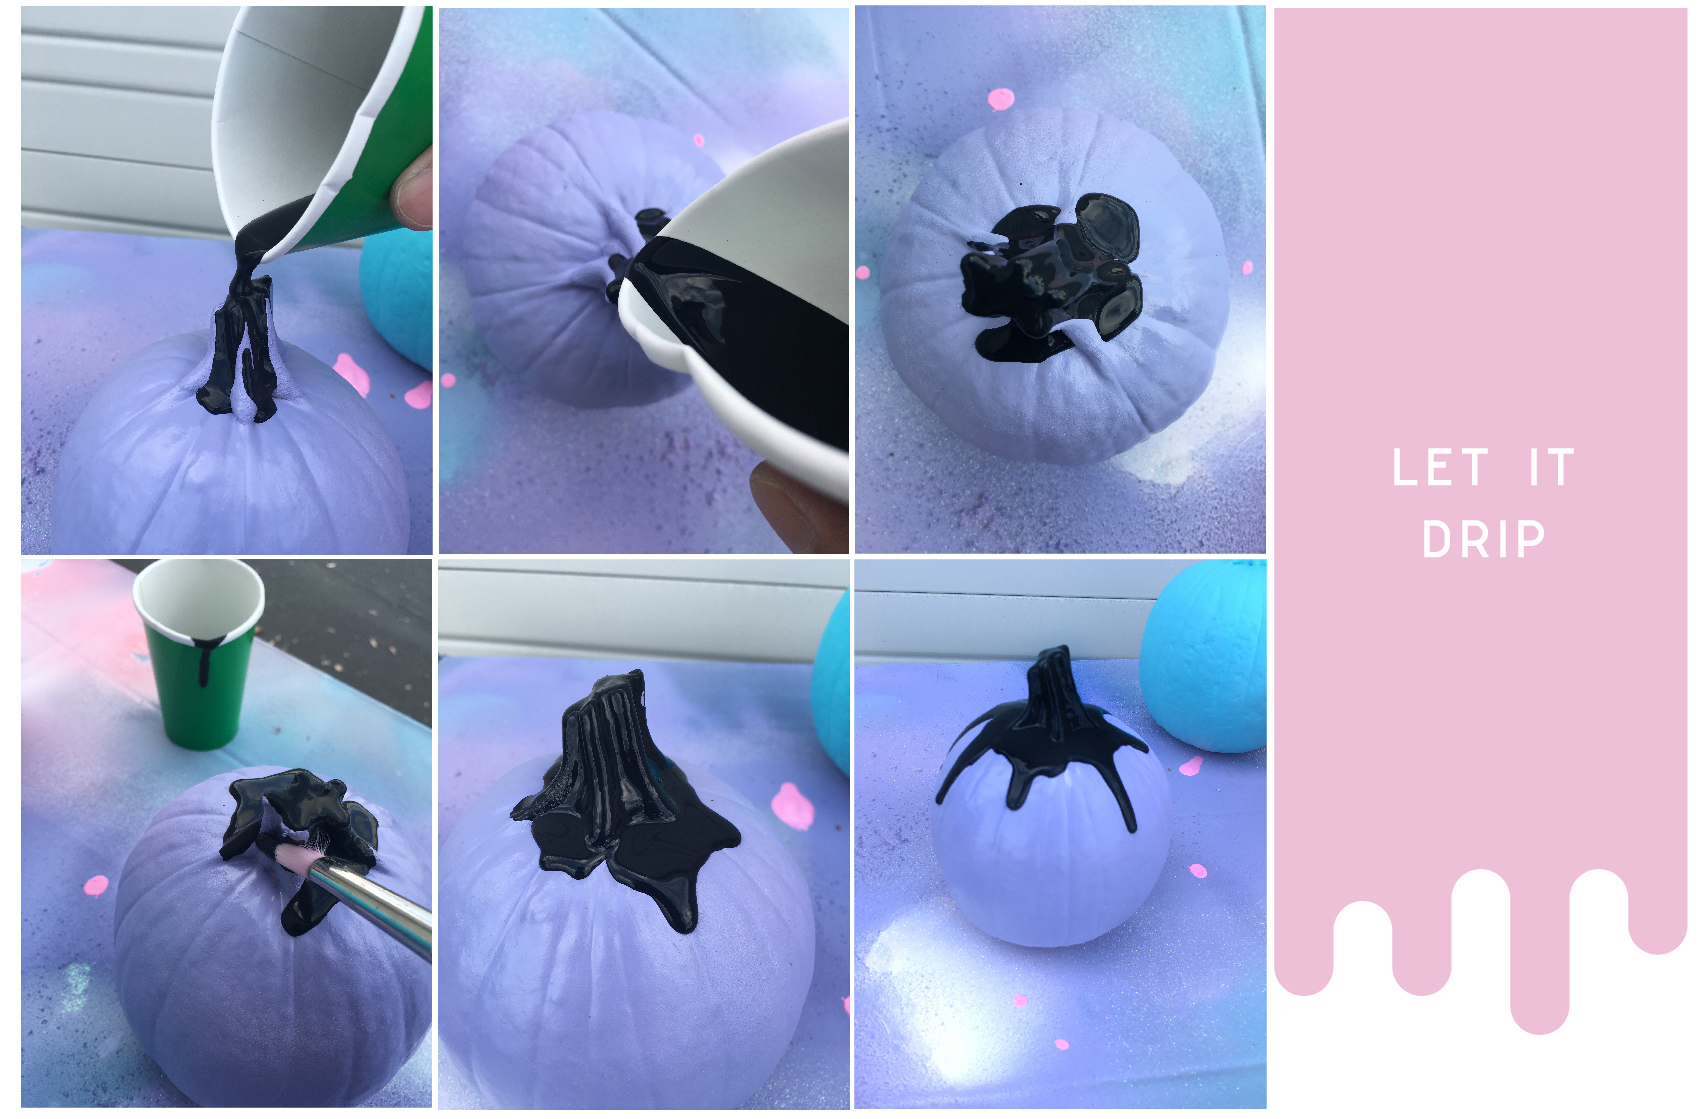
Anyway- pour a good amount of black paint into a paper cup. Squeeze the cup to form a spout and then slowly and carefully start letting the paint drip down and completely cover the stem first. I didn’t water down the paint because it needs to be kind of thick. Once you cover the stem then keep pouring more on the base of the stem so that the paint starts to flow out and eventually it will start to drip down on it’s own. You can help start some drips if certain areas are not flowing evenly by using a brush. I also used a brush to touch up some areas of the stem that curved in and where the paint couldn’t reach.
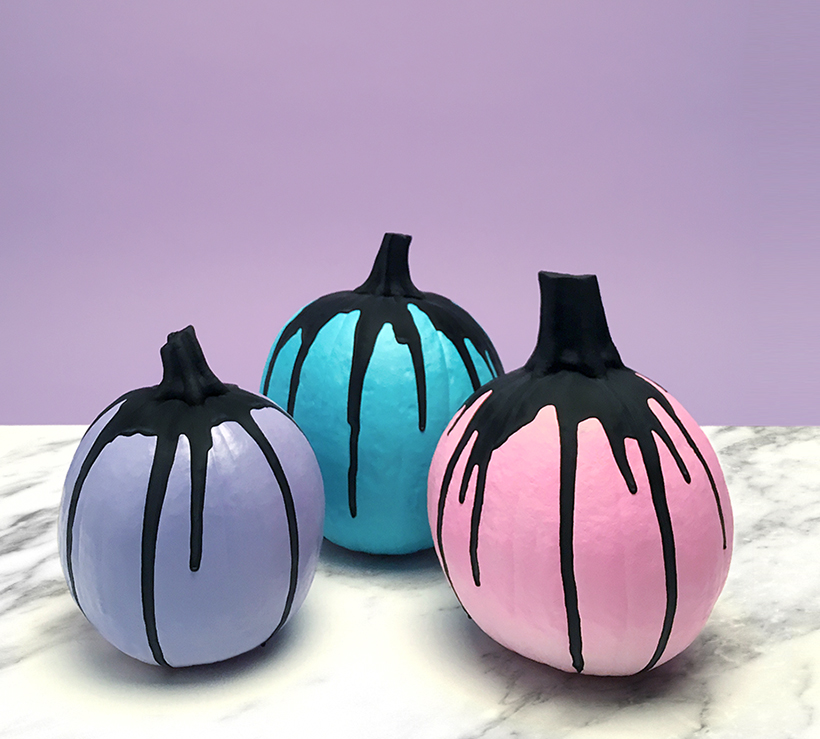
That’s pretty much it!
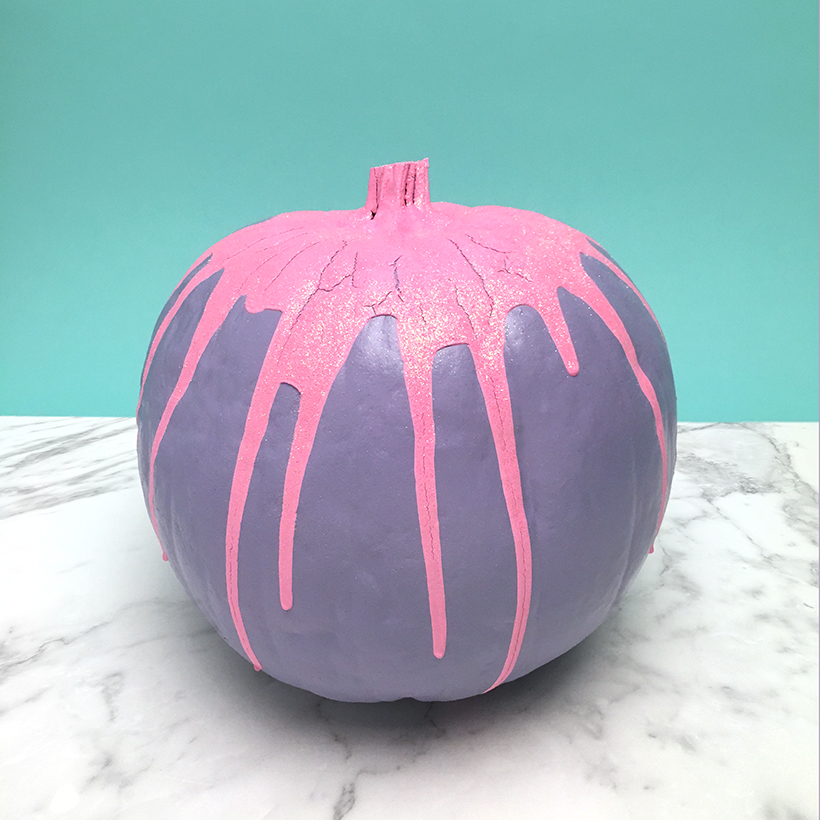
It’s so simple and you can do so many variations. I did another version with a pink drippy and added some iridescent glitter on top for extra magical-ness. The pink acrylic paint ended up cracking a little when it dried completely, but I kind of liked it, as it added a bit more creepy edge.
Stay tuned over the weekend and next week for more #Creepycute2015 shenanigans. Again, head over to Whorange and on both of our Instagrams (mine and tula’s) and snapchats (mine: happymundane tula:tulajeng) Happy Halloween!

