Hey Hey! My first post of 2015… is all about something I did in 2014! lol… and from last spring at that! lol… (sigh) I’ve been meaning to post this forever, but finally had the time this winter break to put everything together. So lets just jump right in. Last May, I completed part 4 of my “While You Were Out” series of room makeovers at my parent’s house. Quick back story if you’re unfamiliar: basically I’ve been slowly (as in this has been going on FOR YEARS, lol) redoing one room at a time at my parent’s house. The catch is I do these makeovers while my parents are on an any sort of extended vacation, so that when they return, the room is completely transformed from when they left.
Anyway- when we last left off, I had redone my parents master bedroom. The next room on the agenda, and basically the last room in the house, is the upstairs guest bedroom. The funny thing about this bedroom is… it used to be MINE!
This was my bedroom for my high school existence (the horror!). My parents moved to Irvine when I was a sophomore in high school. Kind of a weird time to move (since, like, it was high school, enough said), but at the same time, it was a brand new construction house, and the idea of getting a bigger and fresh space (plus I got my own bathroom!) was a big deal and kind of exciting. Of course after high school, I went to college, and moved out. Consequently my old room evolved to that spare room you put the stuff you don’t know where else to put it in / the room for extra guests when the downstairs guest bedroom is occupied. A few years back, my parents repainted the entire interior house. In the process, any residual signs of my teenage existence in that room were cleared away with a fresh coat of (off)white paint. Maybe we’ll share what that looked like at another time… but for now, this is where we land today…
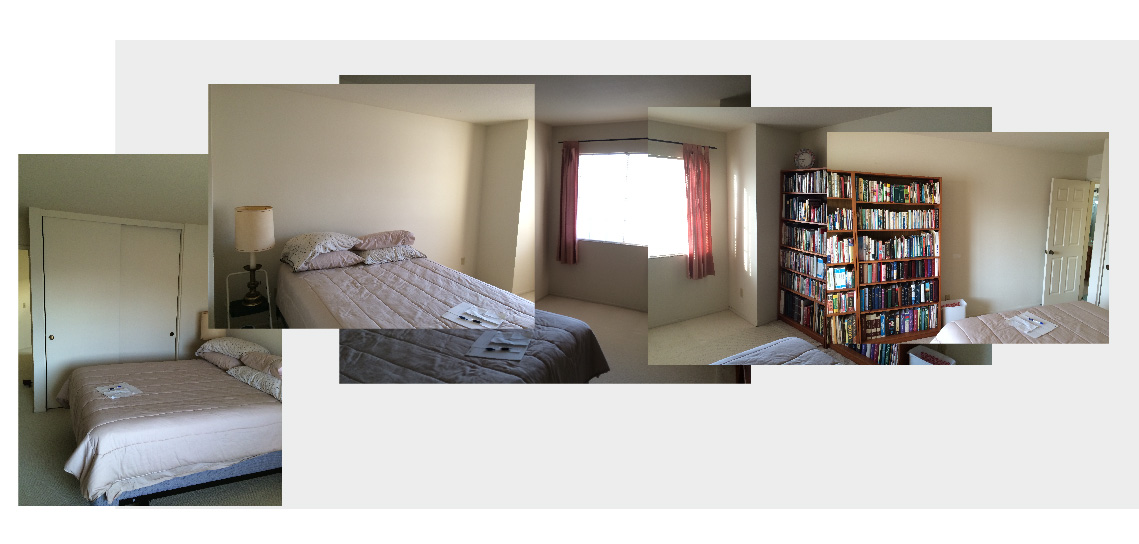
A pretty blank room with just all sorts of random. This is why I’m calling this a “Do-something” as opposed to a “redo”.
The only thing my mom really wanted from this room was to be able to house all her books and music and ideally a desk. With that criteria in mind, I set about trying to figure out where we should go with this room…
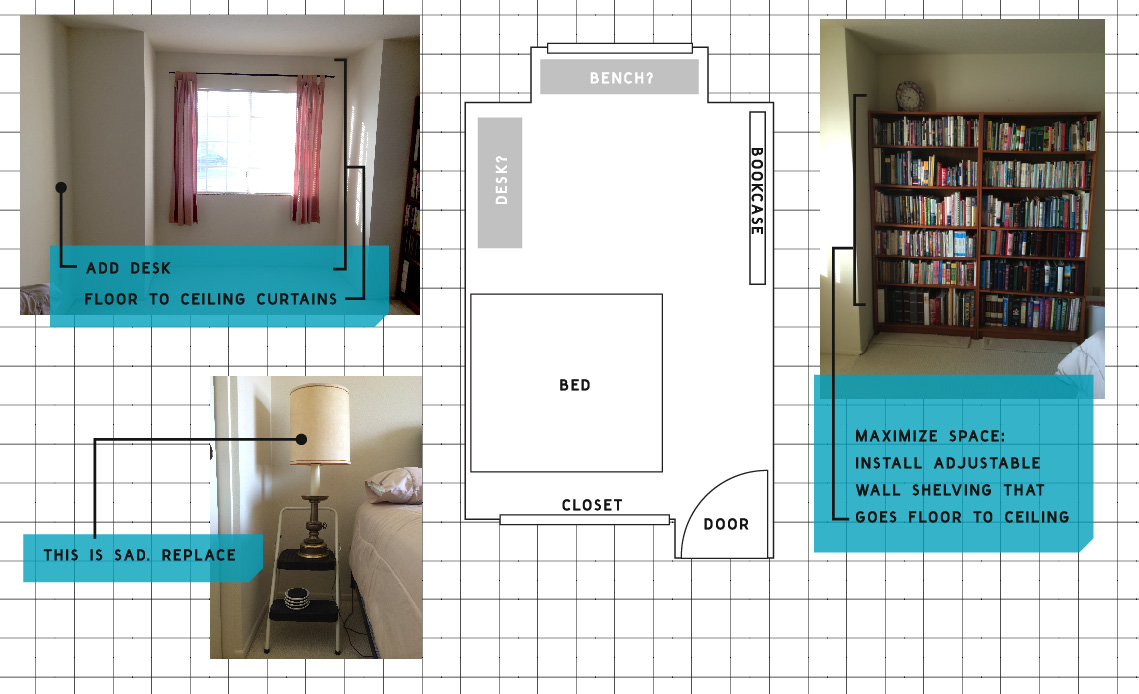
First things first- furniture placement. Below is a quick floor plan of the room. For the most part, I really didn’t see any need to switch out placement of anything. The bed had to stay in its current place because moving it to the opposite wall would make for an awkward entry, and I’ve never been a fan of beds under a window. Also, I kind of felt like the books should stay where they were since that wall was the longest, and there are a ton of books.
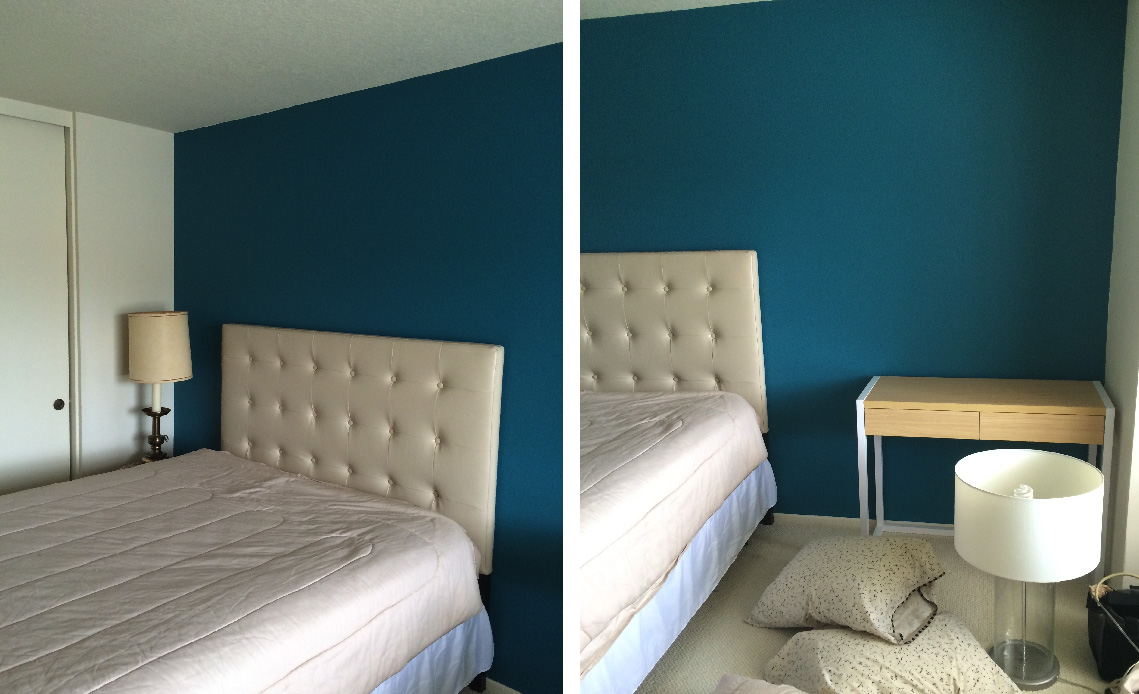
After finalizing where everything was going to go, the fun part starts. I was thinking that since this room mainly acts as a guest room, I could get away with going a little more bold, and fun. I decided on going with a palate of rich teal with accents of bright yellow, gray, white, and tan.

This bedroom is located upstairs and gets a lot of sunlight during the day. With that in mind, instead of keeping the walls light and bright, I went with putting the rich teal color on the walls. There’s nothing like the thrill of putting a bold vivid rich dark color on a white wall. It instantly transforms any space! I used “Havasu 520B-7” by Behr Paints at Home Depot.
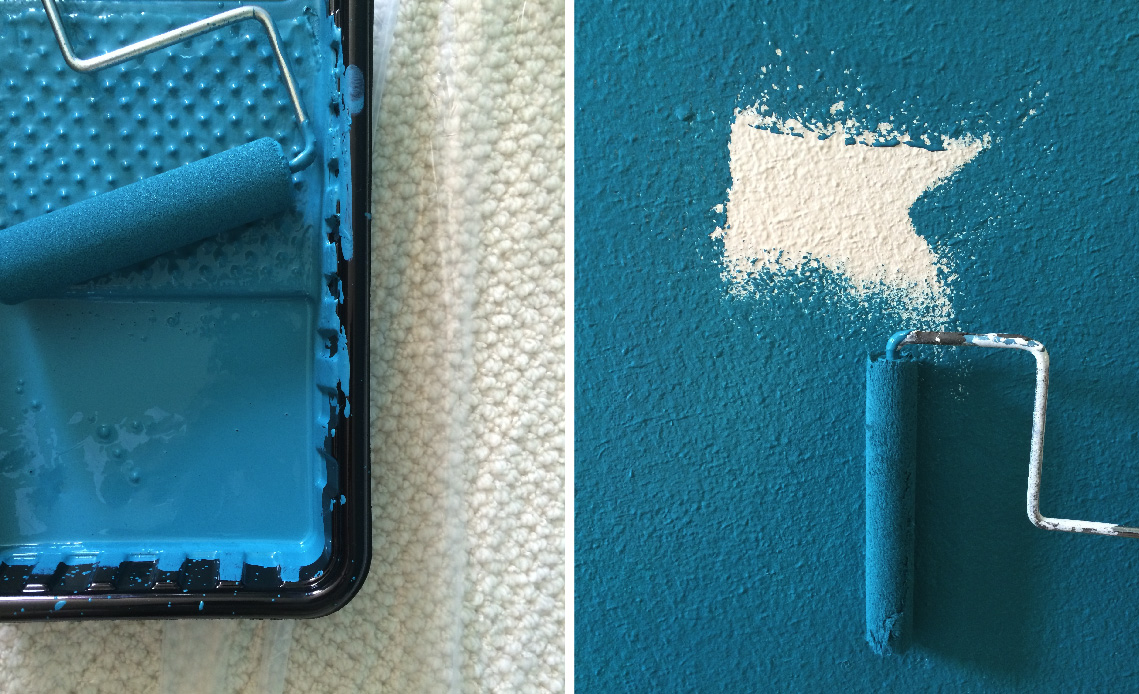
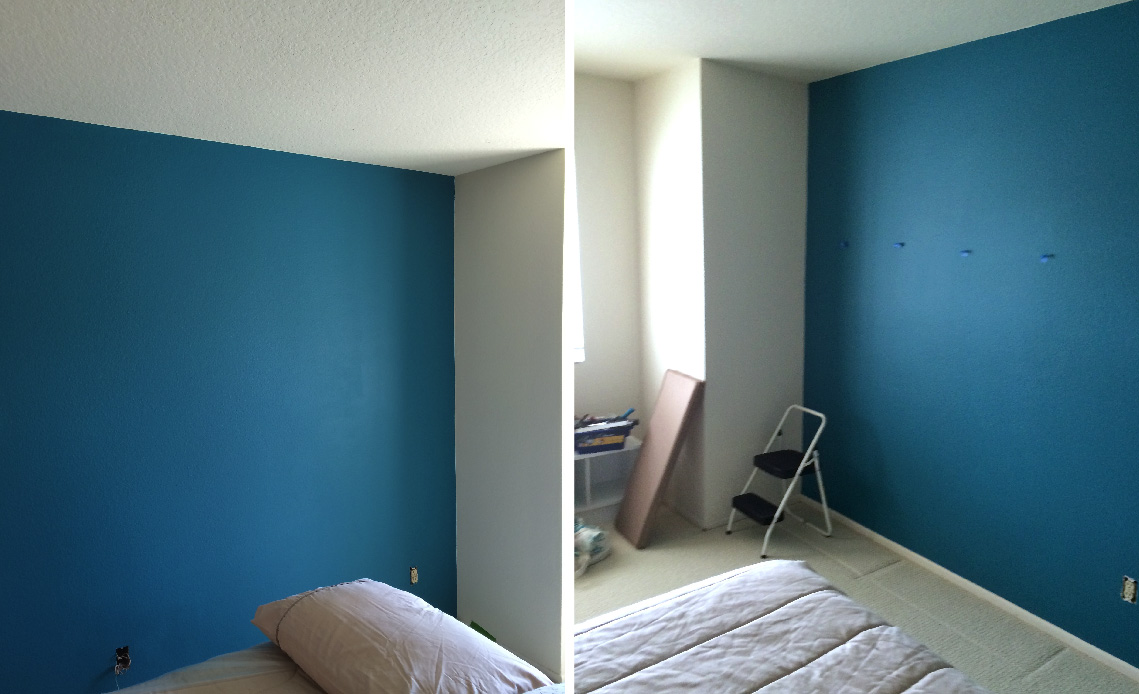
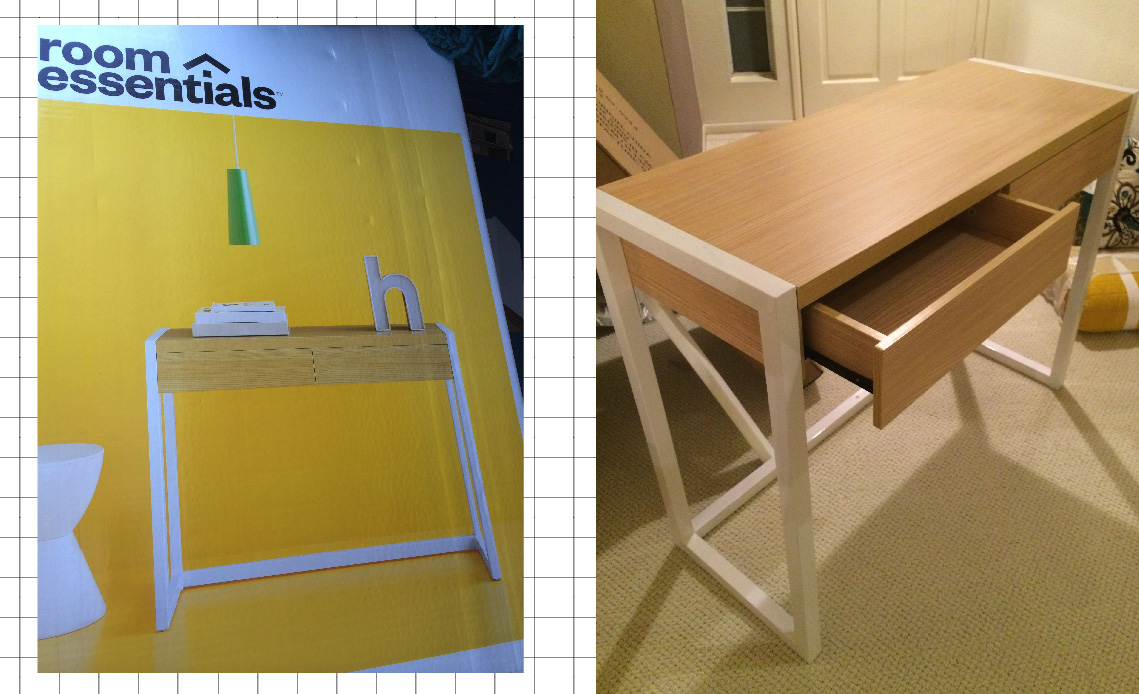
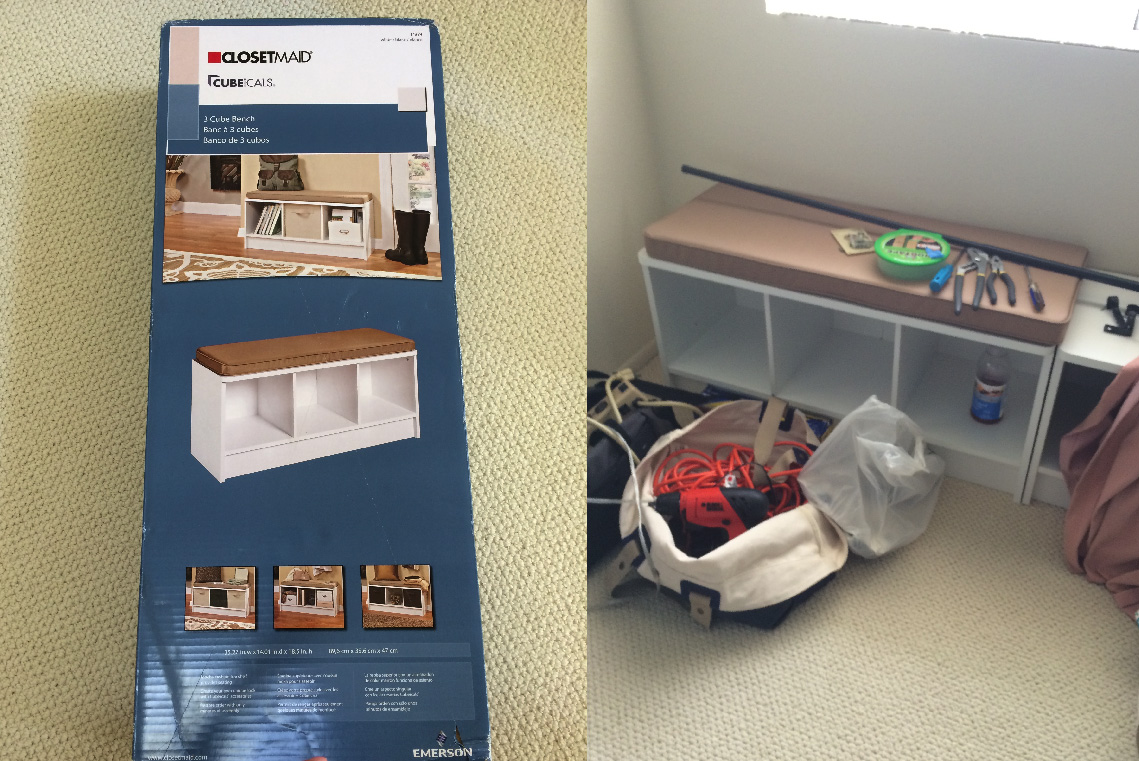
Now, I didn’t paint the entire room the teal, only the two opposite long walls. I kept the closets and window wall the original off-white. I found a great small desk at Target, a headboard from Pier 1, and got two of these ClosetMaid cube storage benches to act as a faux “window seat” for the window niche.
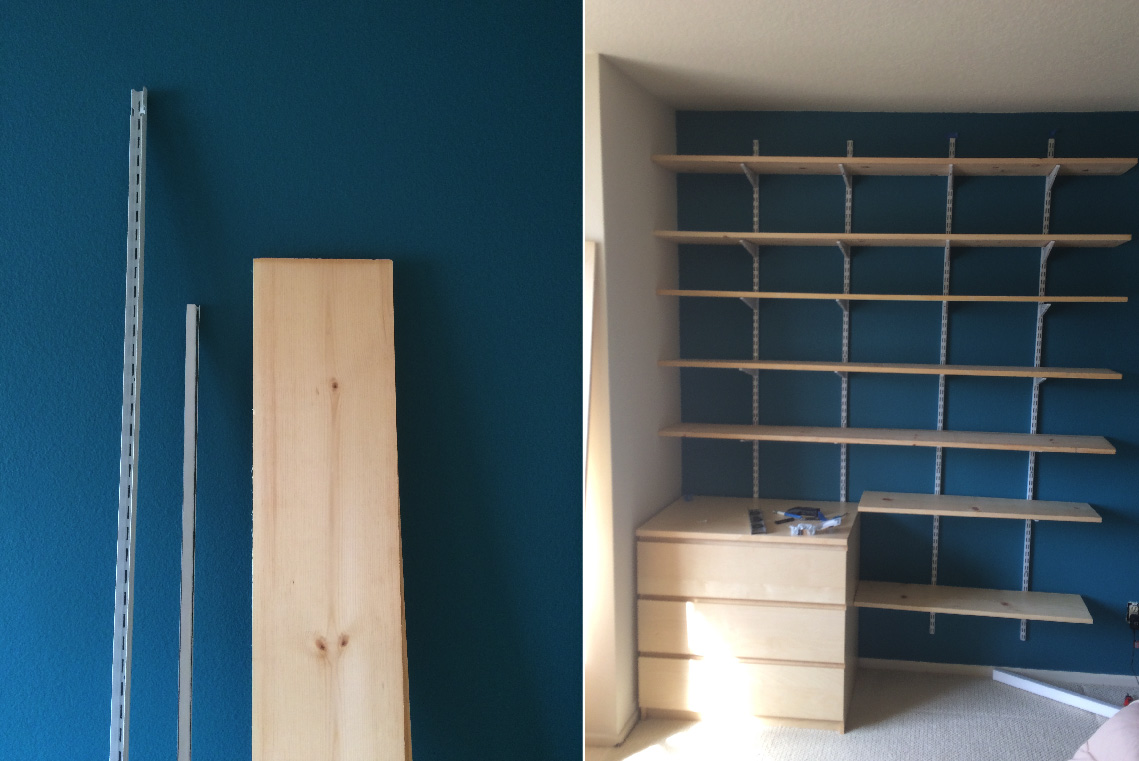
The next thing I needed to tackle was the bookcase situation. My parents have a huge library. There wasn’t anything technically wrong with the existing bookcases, but I just felt they were kind of clunky and and not taking advantage of all the wall space. I solved that by installing a simple bookcase using closet organizer hook-in railing and plain unfinished plywood planks for the shelves. By mounting the shelves to the wall, I could customize how many shelves I wanted and also add in a small dresser with drawers (from Ikea) to solve my mom’s music/CD storage request.
After getting the basic essentials built and installed, I just had to finish “dressing” the room! Stay tuned for the final “reveal” in the next post!…

