Just when you think you have plenty of time to do something lengthy, inevitably something happens and all those extra hours you thought you had go right out the window! As I previously mentioned, my parents were going to be gone for about 3 weeks. 3 weeks to do a room makeover is a good amount of time. Unfortunately, I have a day job that takes priority. This means I only have a few hours here and there after work to shop and then a few hours on the weekends. Still, that’s a decent amount of time, right?
Then, comes the part where I totally forgot that I had a scheduled work trip that coincided with the last week of what I thought would be super valuable time to finish this project… AND I don’t realize this until after the first week has passed… So that leaves like … 6 days. wait- WHAT???!!! YIKES.
Needless to say a bit of panic and frantic manic-ness ensued. Because of the short time frame, I pretty much had to resort to finding items that were readily in stock at local stores only. I also wanted to try to keep things within a fairly decent budget.
So… Speedy Bedroom Makeover STARTS NOW!
Because I already had a color scheme and overall mood in mind, this made the process a little easier and gave me some good focus. I decided to start things off with looking for the hardest thing I thought would be to find: the headboard.
I considered possible DIY-ing one, but with the lack of time, and the fact that I’d never made one that required upholstery (oh, that was another request from Mom, to have a headboard that was cushioned) I nixed that idea. After a desperate search, I was sad to find that there really aren’t that many stores by me that carry headboards in stock. Ugh! However, I spotted one randomly at Home Goods- (See below)
It was ok, but I really didn’t like the nail head detailing as well how it had attached sides- But, it was a good possibility…
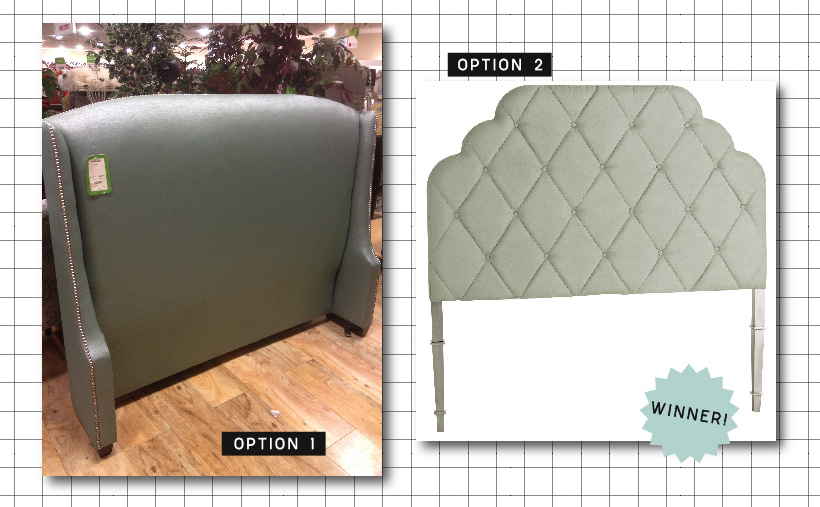
Luckily, I found that Pier 1 had some better options and they were also within budget (I was shooting for under $500). I ended up getting the Hayworth in seafoam. I normally would go for a more clean, rectangular shape, (as opposed to this somewhat scalloped edge) but it looked elegant and I thought would compliment all the curves in the print of the inspiration comforter– So… headboard- check!
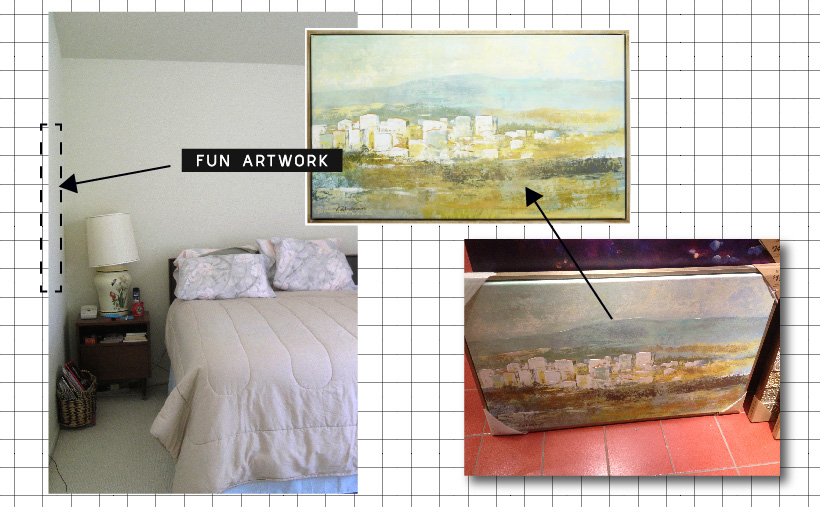
While there, I also picked up this piece of artwork (now on clearance!) that I thought could go on the blank wall opposite the desk on the other side of the bed.
Now that a big piece of the puzzle was found, it was time to think about overall color. The room is pretty much all white, which wasn’t necessarily a bad thing. However, a little more color definitely needed to be brought in. The walls in the bedroom are pretty high, and there’s also a slight vaulted ceiling. The idea of trying to paint all the walls myself (or even if I could get a friend to help) wasn’t going to happen. I don’t know where I’d get a ladder tall enough, and really, some sort of scaffolding rig would need to be devised in order to do it right.
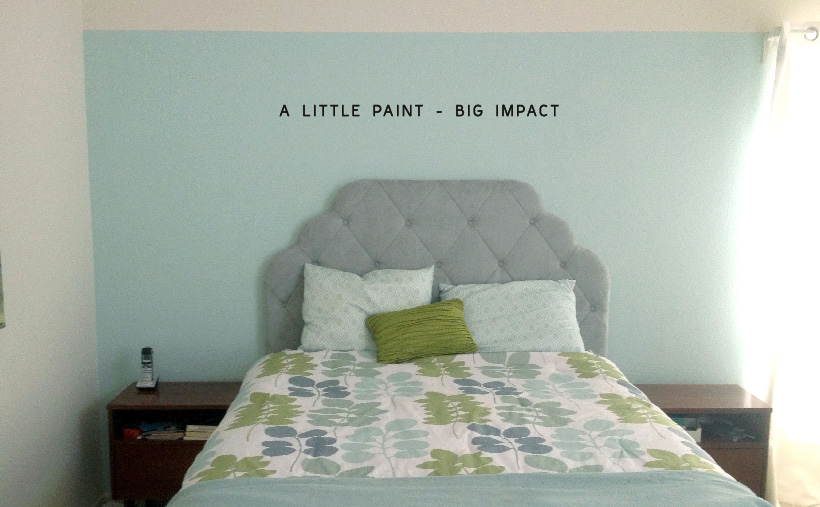
I decided that painting only the short wall behind the bed and headboard a single color would bring some much needed impact and also visually anchor the bed, yet it would still retain the overall light and brightness the room currently had. I finally painted the wall a nice soft light blue/green color.
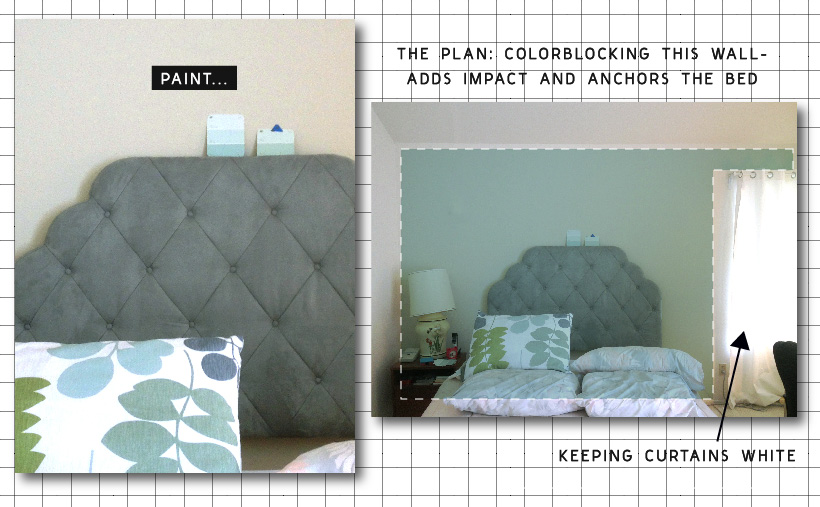
I originally thought about having the curtains a color as well, but then after some thought, felt that it might result in the room feeling a bit unbalanced. I figured it best to just keep them white. I took down the existing sad curtains and replaced them with simple IKEA curtain panels. Nothing major but a nice refresher.
Ok, so next was trying to find a good rug and a good reading chair. While at Ikea, I spotted this nice gray wingback chair. Not bad, I liked that it had an ottoman, but if you added the chair and the ottoman together, it was going to be about $350+ … a little more than I wanted to spend, but I kept it as an option and kept looking…
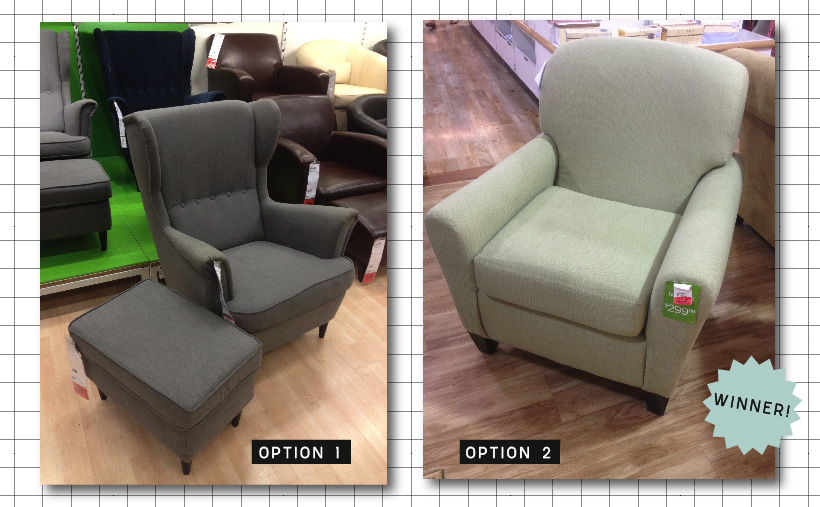
… which brought me back to Home Goods. I swear I lost count of how many times I went to all the Home Goods stores in the local area! But honestly, they saved the day. I found this really comfy green armchair that was on clearance for $199 and a blue rug that was perfect for the space.
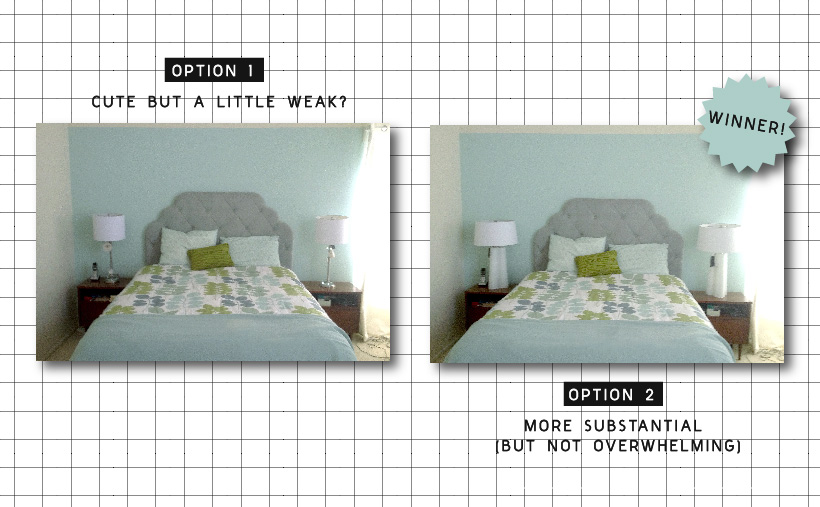
Homegoods is where I also picked up some good lamps for the night stands. Speaking of lamps, that was another issue I struggled with. After I painted the wall behind the bed, I originally thought since the nightstands were a darker wood, I didn’t want lamps that were too heavy looking. I considered sconces but I don’t know how to hardwire. I didn’t have the time to coordinate an electrician to come in, nor did I like the idea of a cord dangling, so I scratched the sconce idea. I found some tall clear base lamps (below left) and thought they could work. Once I put them in the space, I felt they were too skinny and didn’t feel substantial enough. Luckily I went to yet another Homegoods and found these pretty white ones that worked much better.
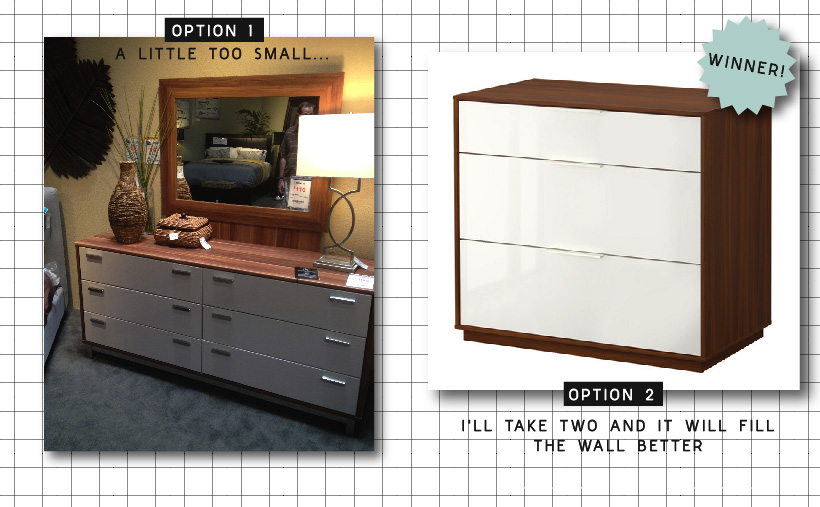
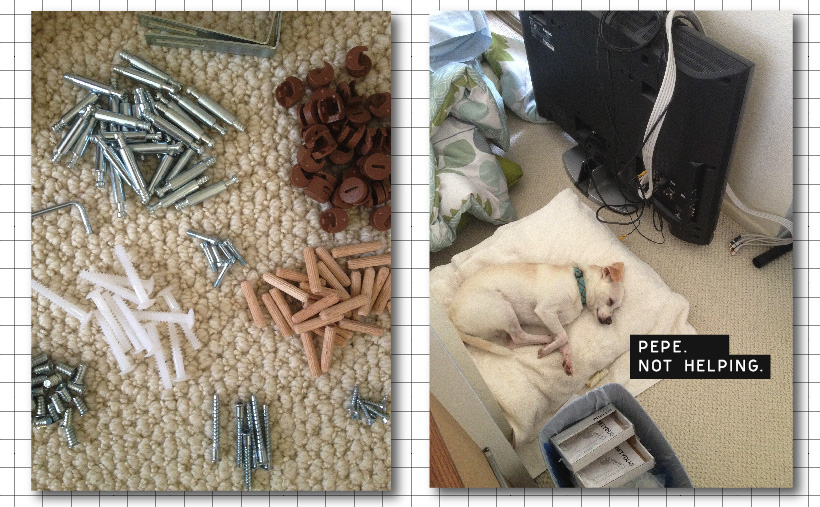
The last thing I really needed to get was some sort of storage that would go against the wall where the TV would be, across from the bed. Because the existing nightstands are wood, I felt I needed to somehow repeat that with whatever storage I could find. I saw this dresser at Living Spaces that went for $395. I liked how the drawer fronts were white, but the outside shell was wood. The only draw back was that it was just a tad shorter than I wanted. I went back to IKEA and found that if I bought two smaller NYVOLL dressers, I could achieve the same look for almost the same price, and it would maximize the wall space better.
So, dresser/storage situation solved, and I could look forward to a nice… long… evening of… this:
With most of the major pieces found, installed, and completed, I just needed some final touches and the room would pretty much be done. Stay tuned for part three for the final reveal!

