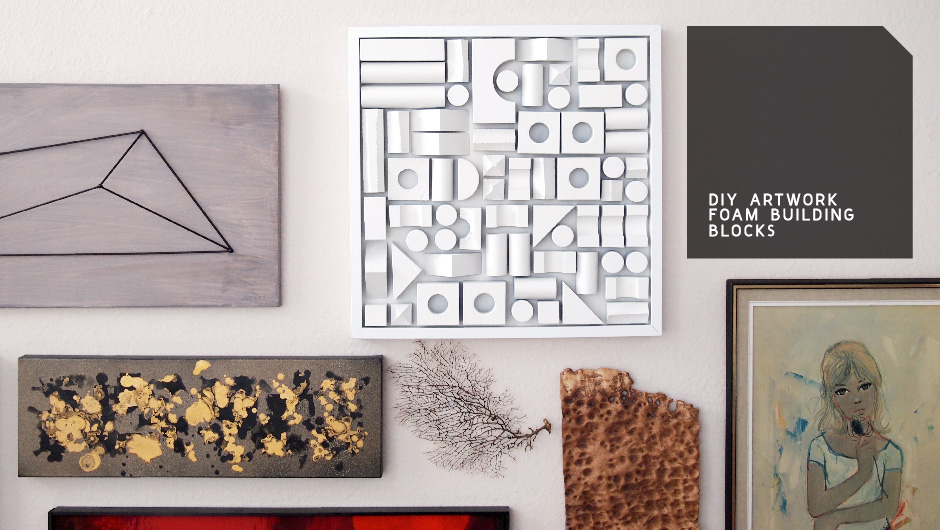
When I was looking for artwork for the big wall over at Project SB, I was totally feeling the need for something that wasn’t necessarily colorful- but still had a lot of texture, and of course, something graphic. I guess I was looking for “graphic tonal texture?”
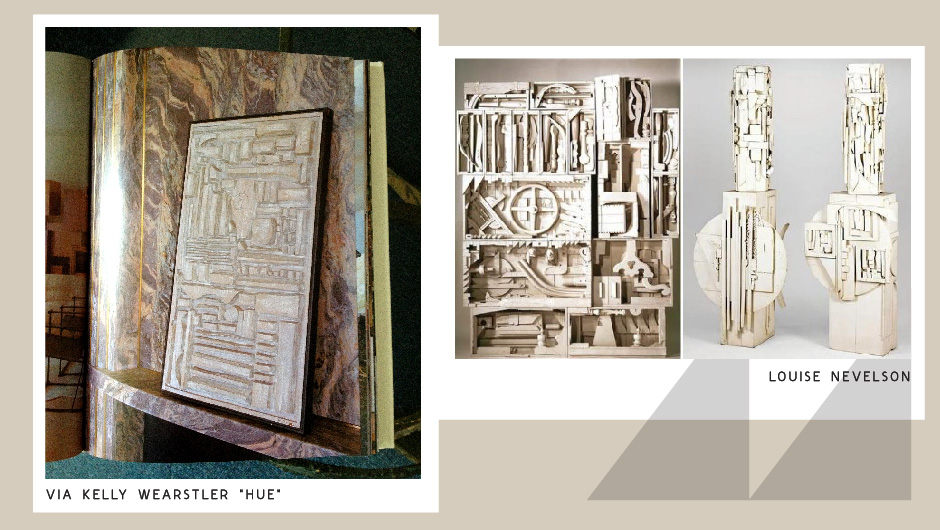
Anyway, I spotted this piece of artwork featured in Kelly Wearstler’s book Hue… which then got me thinking about the sculptural pieces of Louise Nevelson (examples here)… which then led me to remembering my Christmas ornaments from last year (I still had a bunch of supplies left over)… which gave me my solution… It’s DIY artwork project time with foam building blocks!
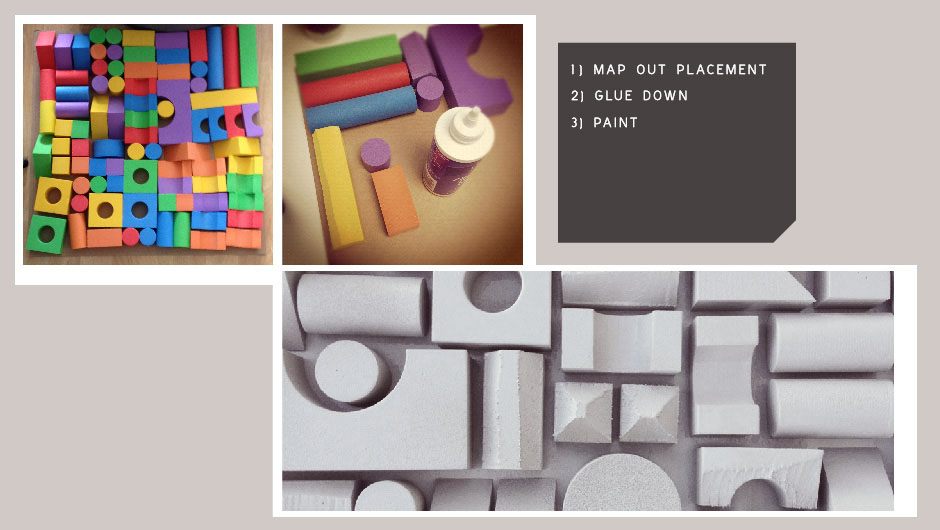
I originally thought about using real wood building blocks, but then I got a little concerned with how heavy the piece might become. Since I still had so many leftover pieces from the Christmas ornament project, I figured to just go with those. So, the first thing I did was grab a cheapie box frame (I went with the favorite RIBBA frame). Then I just cut a piece of cardboard to fit the back and started laying out the blocks. I loved some of the raw edges in the inspiration image from Kelly Wearstler, so I tried to shave some side off on a few pieces, but in the end I got lazy and just kept them plain.
After I had all the pieces mapped out and placed, I just used craft glue and stuck them all down. Finally after they dried, I used spray primer and painted the whole thing white. Easy Peasy!
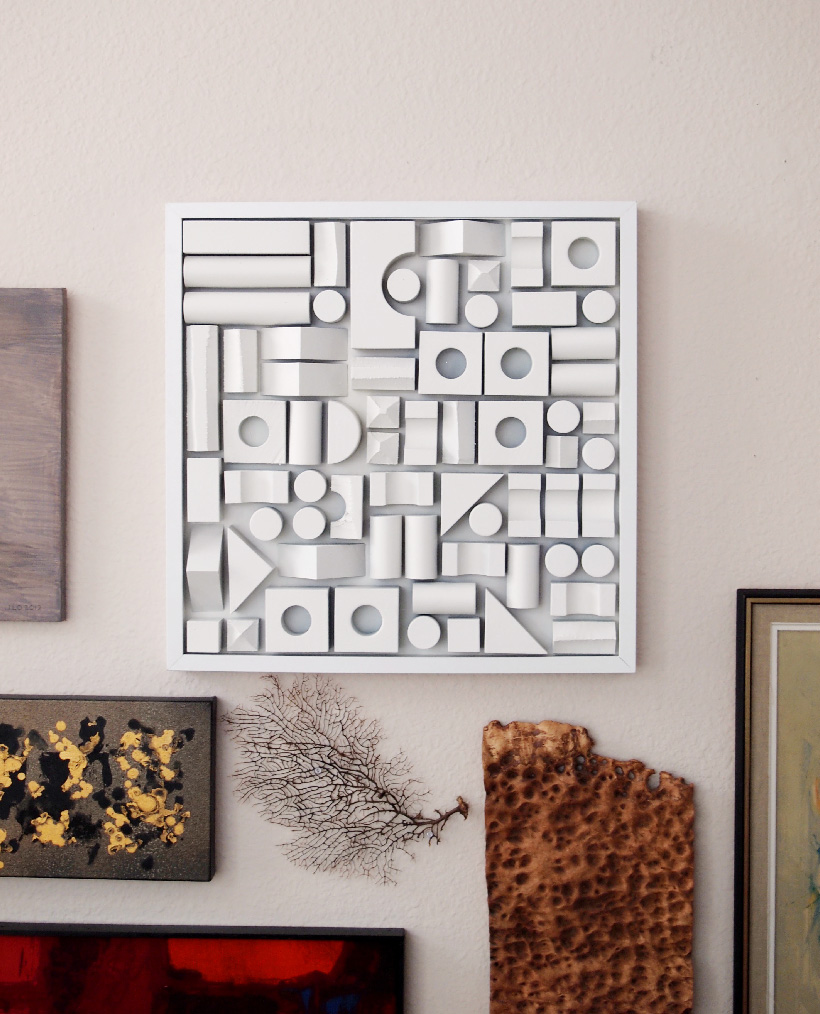
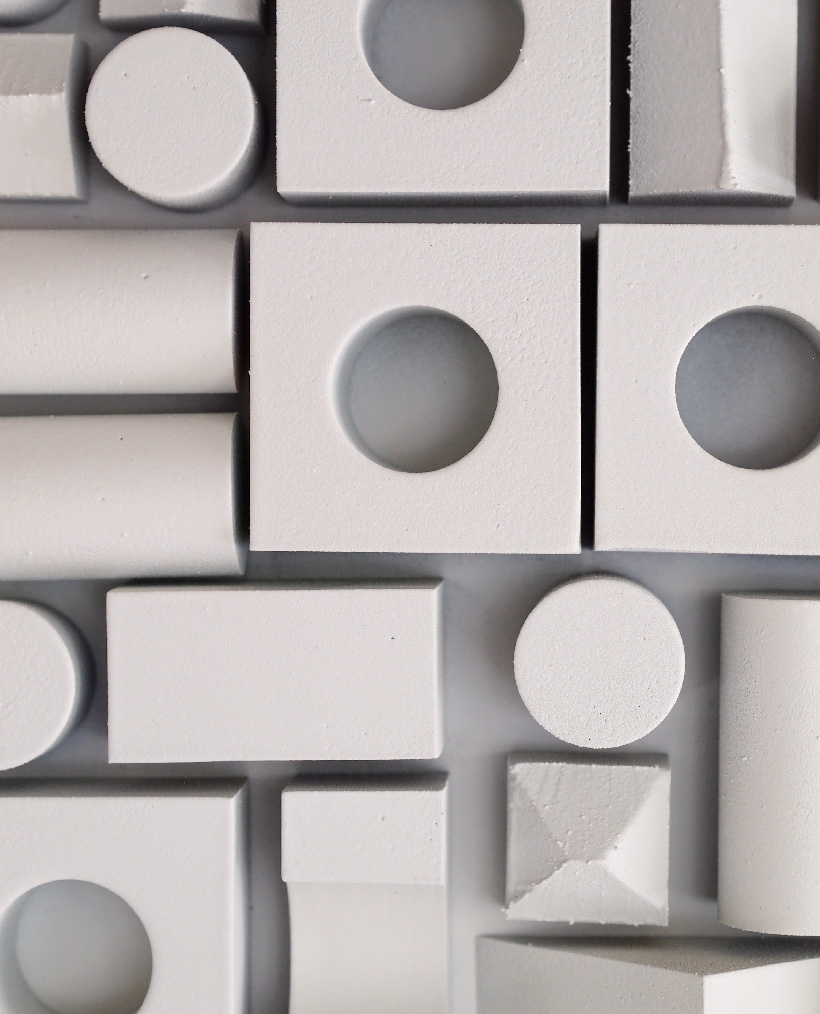
Word of Caution: Perhaps it was because the pieces were foam or the type of paint I used, but the fumes from the paint lingered for days! I used Kilz spray primer, because I love the coverage, but maybe because it’s so hardcore, it also comes with hardcore fumes? It dried quickly enough, but I kept the piece in the garage and left it outside for a day or so (I even tried some febreeze!)- It still took a long time for the fumes to go away. I guess be warned if you are particularly sensitive to paint fumes.
Click here to see other Project SB related lovliness…
