In the previous post, I mentioned I wanted to do something geometric for the ornaments. Well, my first inclination was to make some polygons out of paper. Originally, I wanted to do them via origami. This was a great idea and all, until I actually saw how many folds and steps it would take to create just one… (video above is an example) (continued…)
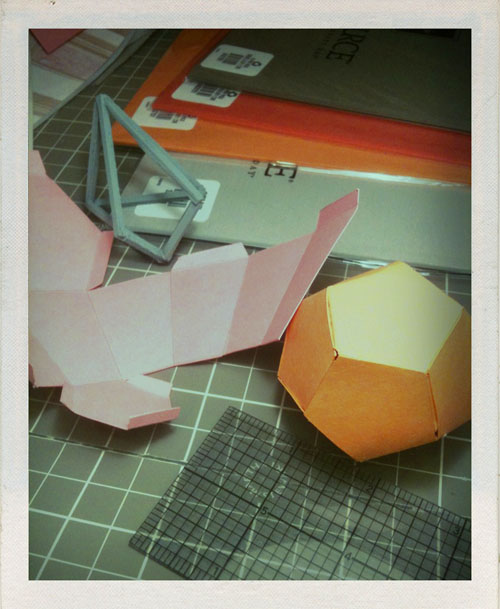
When we were working on our At Your Leisure zine #1 (which you can view online here), we did a shot of a group of paper polygons. We actually created these by using a folding template found via the internet, and then cut them out and glued the pieces together. This seemed like a much faster option and would result in a cleaner looking polygon… Now, mind you- I think the origami method is still great, and probably better, especially if you had people to help you (like slaves– er… I mean, it would be a great project to do with the kids!) But I am admittedly lazy. So the thought of sitting and folding all of that just didn’t sound appealing.
So, I found some folding instructions and templates online (google search for “folding polygons”) and printed out the patterns onto the colored paper. I then cut out the templates, (make sure you score the folds as well) and glued the tabs. In doing all of this, I soon realized it probably took as much time carefully using a ruler and cutting out the lines with an blade as it would have to have folded the paper origami style. Either way, this was not a quick project. Not like it took days or anything, but definitely a few hours. Luckily I had food network and cooking channel in rotation and got into the zone… In the end, I think they turned out pretty cool! I did a small mix of different shapes in the different colors, except the fluorescent yellow. I’m saving that for part 3…
